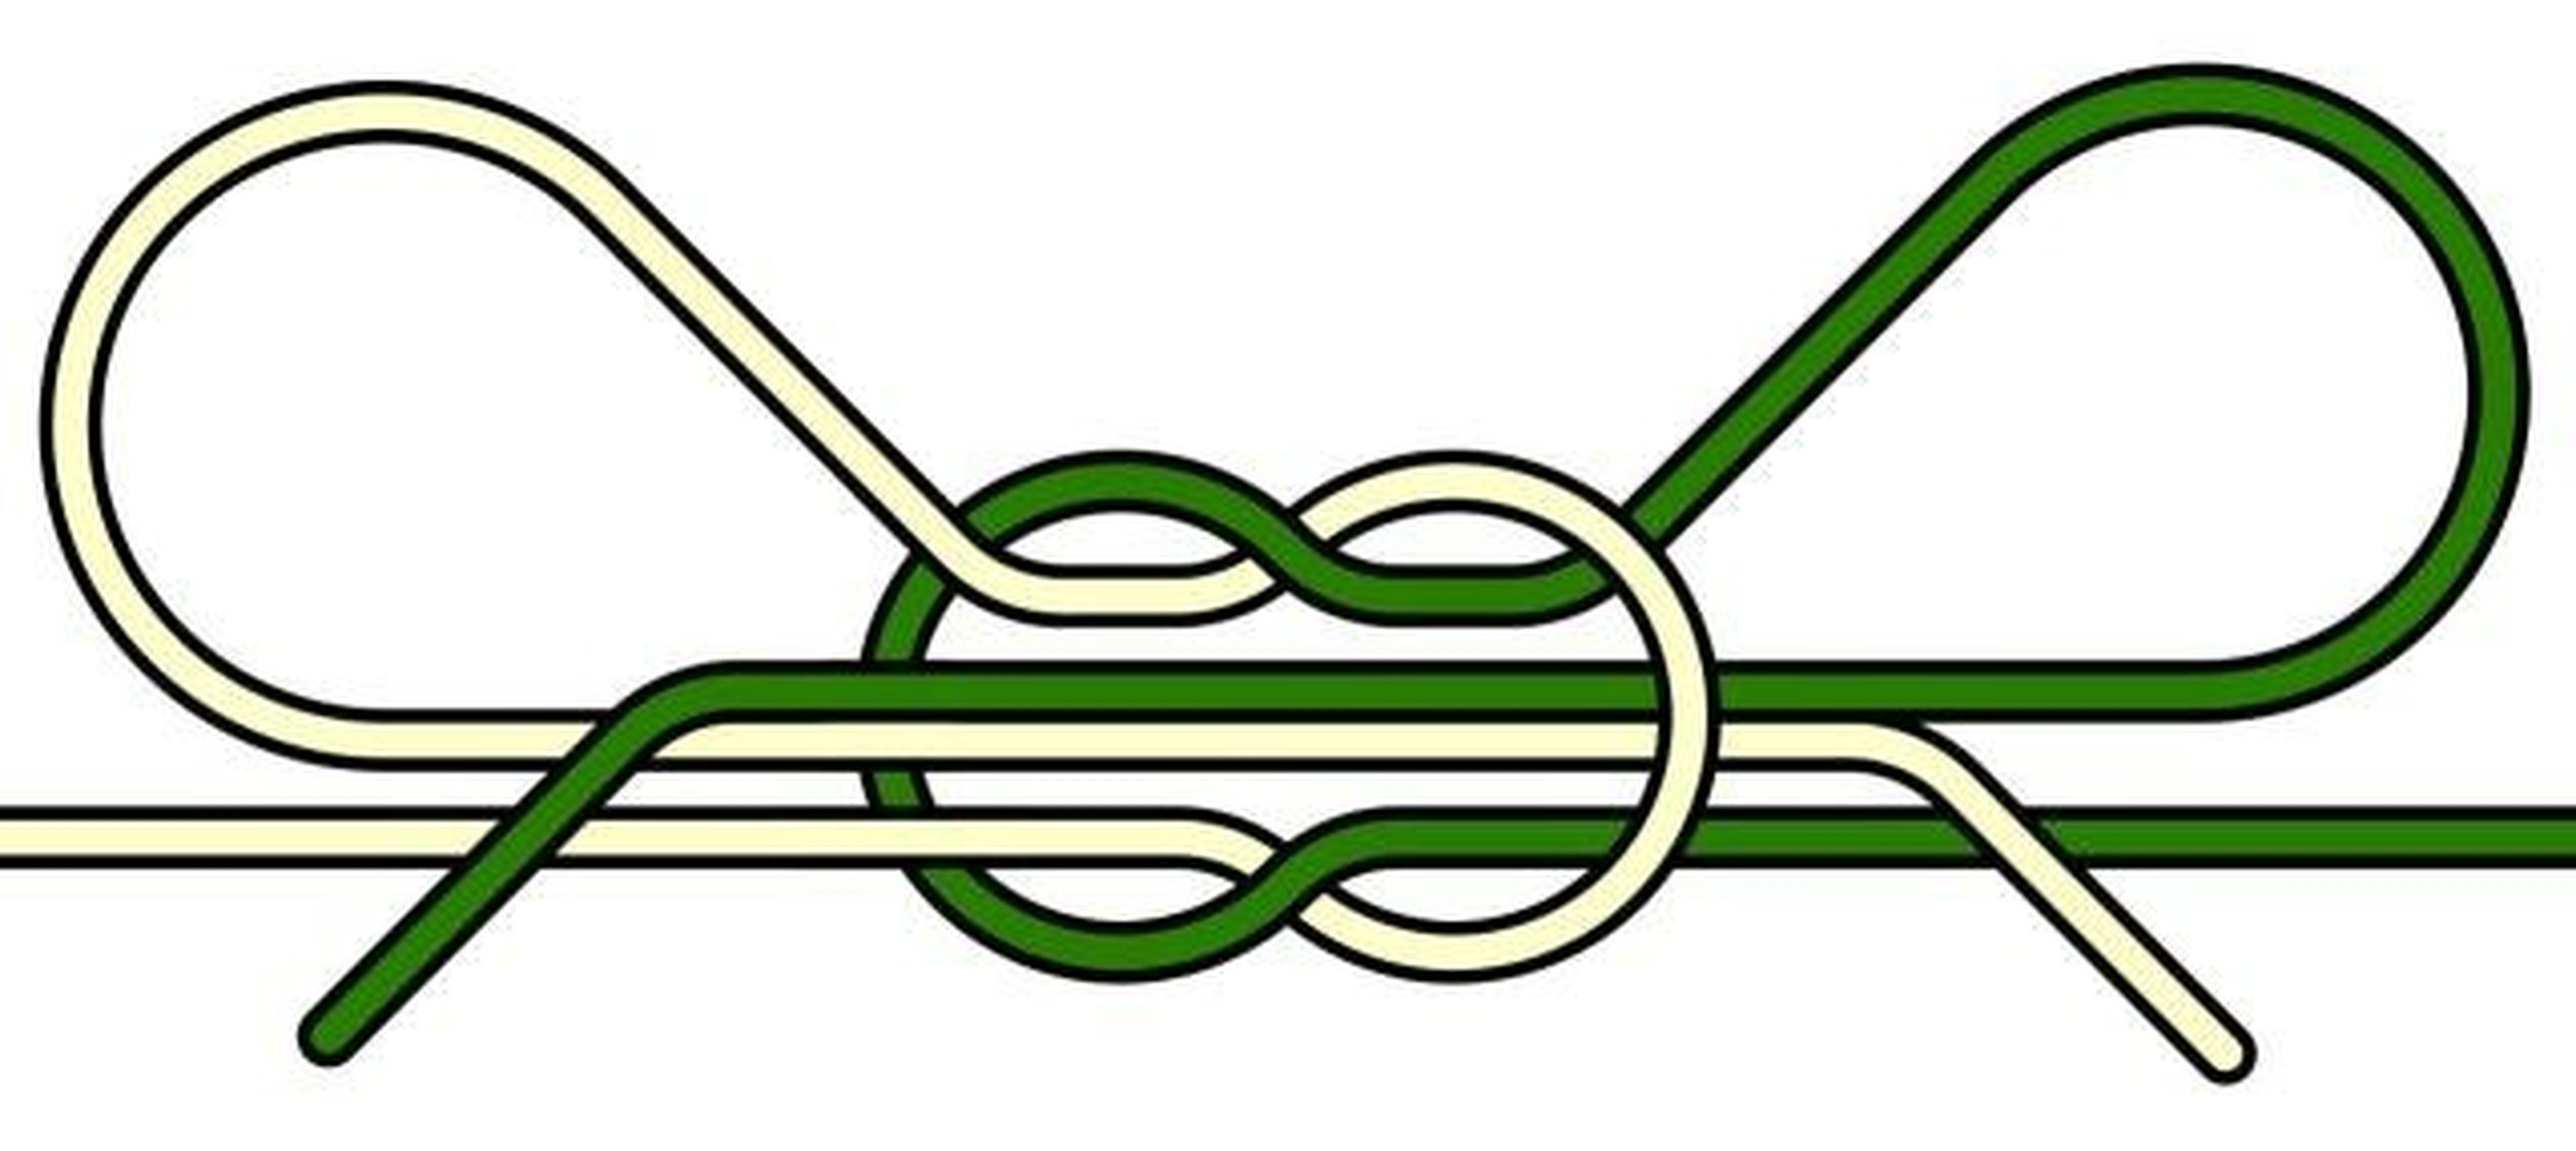
There are three key steps you need to follow to perfect your technique and achieve a firm, secure knot that will stay with you throughout the day.
Since childhood we have learned to tie our shoelaces, but over the years, many people have wondered if they have been doing it correctly. It is curious how an apparently simple act can generate doubts.
Tying your shoelaces is a skill learned from an early age. As you get older, you become more independent and gain skill in handling your shoes. Yet it’s amazing how many people, even as adults, continue to wonder if they’re tying their shoelaces properly.
There are different types of knots that can be used when tying your shoes, it’s not just about putting the laces together and twisting them a couple of times.
There are specific techniques that can make the difference between a tight knot that will stay in place all day and one that won’t hold up very well.
This is the correct way to tie your shoes

Among the most common knots are the reef knot and the granny knotbut what makes the difference? What makes a knot good and another bad?
Fortunately, there are mathematical secrets behind the correct way to tie your shoes, which are represented in three key steps, which we will explain after the jump.
Step 1: Cross and fold

One of the most fundamental steps in tying shoelaces is to cross and tuck. This step consists of taking the two ends of the laces of your shoes and cross them over each other, but make sure the laces are taut to ensure a tight knot.
After crossing them, bring one end of the lace under the other and pull up, this movement will create a base for the next step, which is to make a loop with one of the sides.
Some people prefer to cross the left cord over the right, while others choose to do it the other way around.. In the end, the important thing is to make sure that the laces are securely intertwined.
Step 2: Make a loop with one of the two sides
Once you’ve finished the first step, it’s time to create a loop. Hold one end of the cord and form a loop with it. You can do this by passing the cord over itself and holding it to shape the bow.
It’s crucial to keep the loop firmly attached to prevent it from coming undone in the next step. By making a loop with one end of the cord, you will be building a structure that will become a fundamental part of the final knot.
Step 3: Wrap the no-loop cord around the loop and pull it through
The final step is to wrap the end of the cord that does not have a loop around the loop created in the previous step. After doing so, pull on the cord to tighten the knot. Make sure the knot is snug, avoiding it being too tight to avoid discomfort.
By following these three steps, you will be able to tie your sneakers properly and get a firm knotbut above all safe throughout the day.


![[Img #74675]](https://thelatestnews.world/wp-content/uploads/2024/12/They-discover-a-new-class-of-X-ray-sources-in-the-150x150.jpg)


![[Img #74675]](https://thelatestnews.world/wp-content/uploads/2024/12/They-discover-a-new-class-of-X-ray-sources-in-the-300x200.jpg)
