If you need to record the screen of your Windows 11 computer on video, you should continue reading this article, since we are going to see what are the easiest ways to achieve it without the need for applications or installing anything.
The fact of capturing the Windows screen, something that you have already seen in Computer Today, is quite simple and there may already be quite a few users who know how to do it.
On the contrary, doing the same, but on video, is something that is not so widespread. You will be able to use Windows 11 itself to run it, since it has several interesting options to take advantage of.
It is easier than you can imagine at firstwith powers that are sure to at least sound familiar to you if you’ve ever seen them in Microsoft’s operating system.
If none sounds familiar to you, there is no problem, because you will know how to carry out the fact of record on video what happens in Windows.
This is how you will be able to record the Windows 11 screen on video:
Windows game bar
The game bar was designed at the time to be able to record computer games or for those that were sent from the Xbox.
But in reality the possibilities do not stop there, since it allows you to record the screen when you are browsing, with Windows applications or with some other programs.
If you do not have activity on the desktop, it will not be possible for this option to work for you. Everything you record is automatically saved in a MP4 video file.
How to enable the game bar
Although this function is normally working, before using such a tool to record the Windows screen, it is best to make sure that the function is enabled.
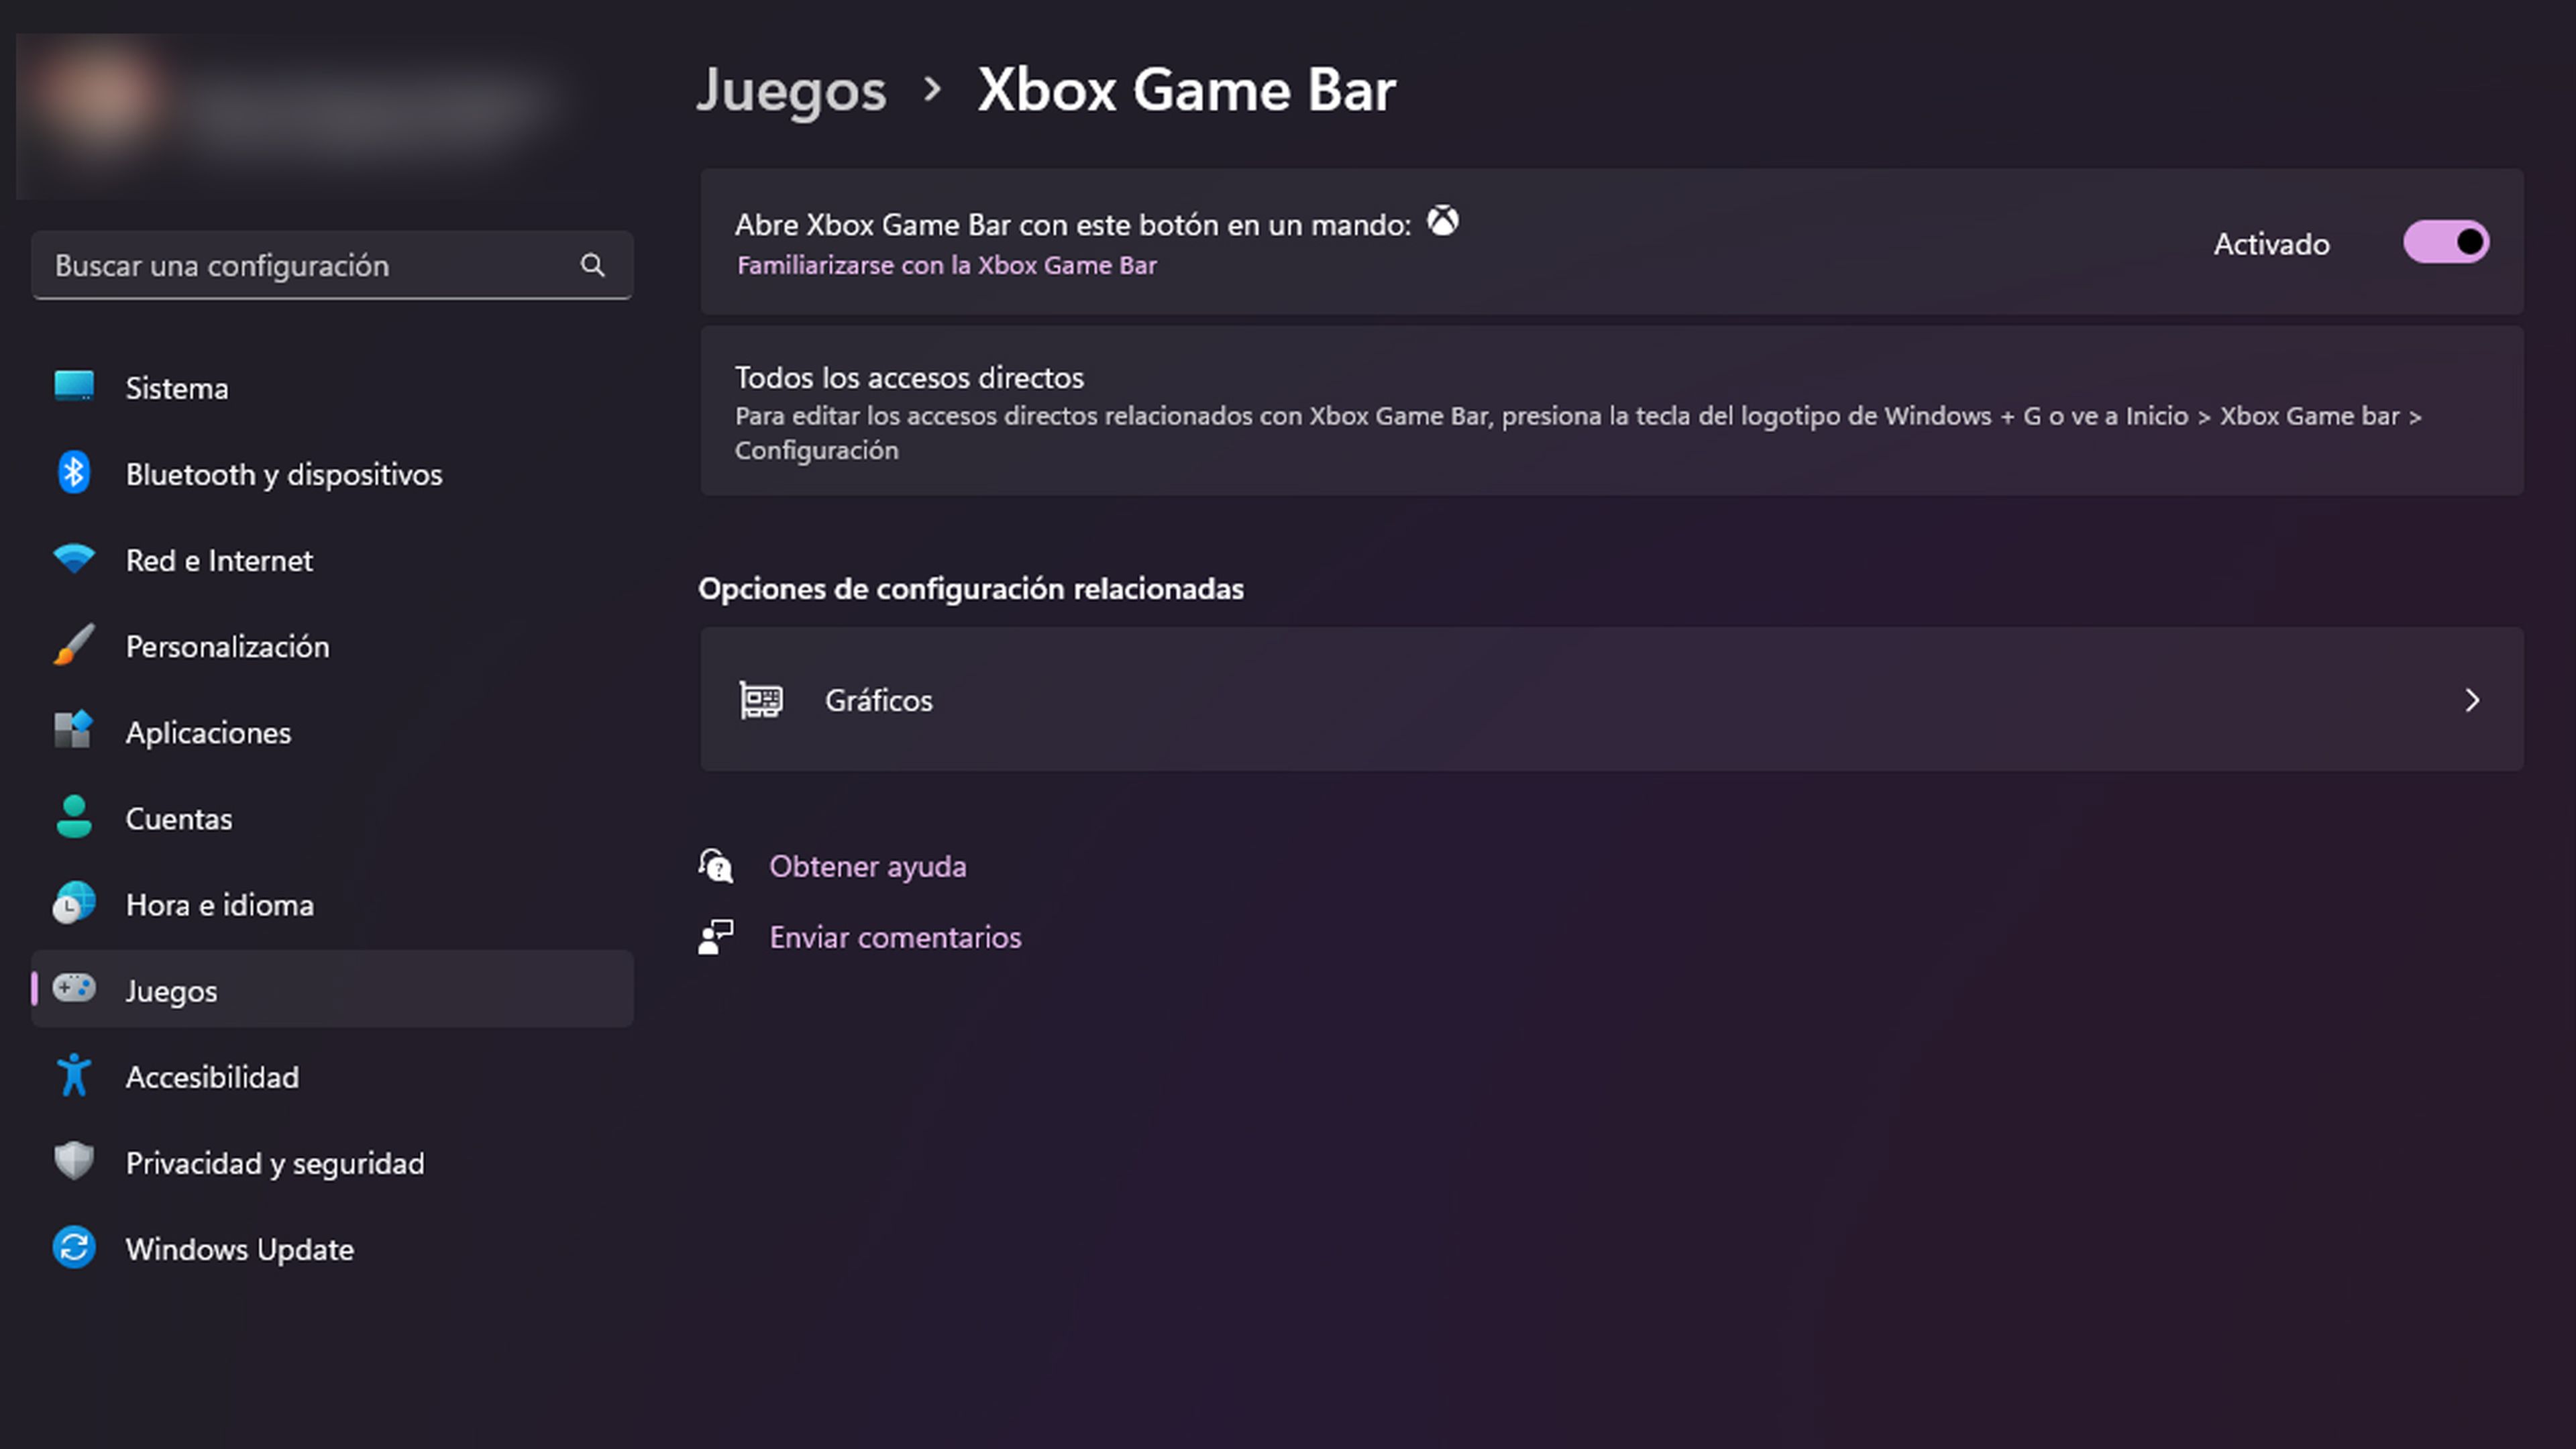
The steps to follow are really very simple, since you just have to do the following:
- You’ll Setting.
- After that you enter Games.
- Next, click on Xbox Game Bar.
- Now all that remains is to enable the option that says Open Xbox Game Bar with this controller button. This way you make sure that the Xbox Game Bar works.
Record Windows 11 screen on video with the Game bar
When you want to record the screen with the Game Bar, you must be clear about something that you have already read before, such as the fact that this system does not capture the desktop if nothing is open.
The first thing is to open what you want to record, be it a game, browser or other program. From there you have to do the following:
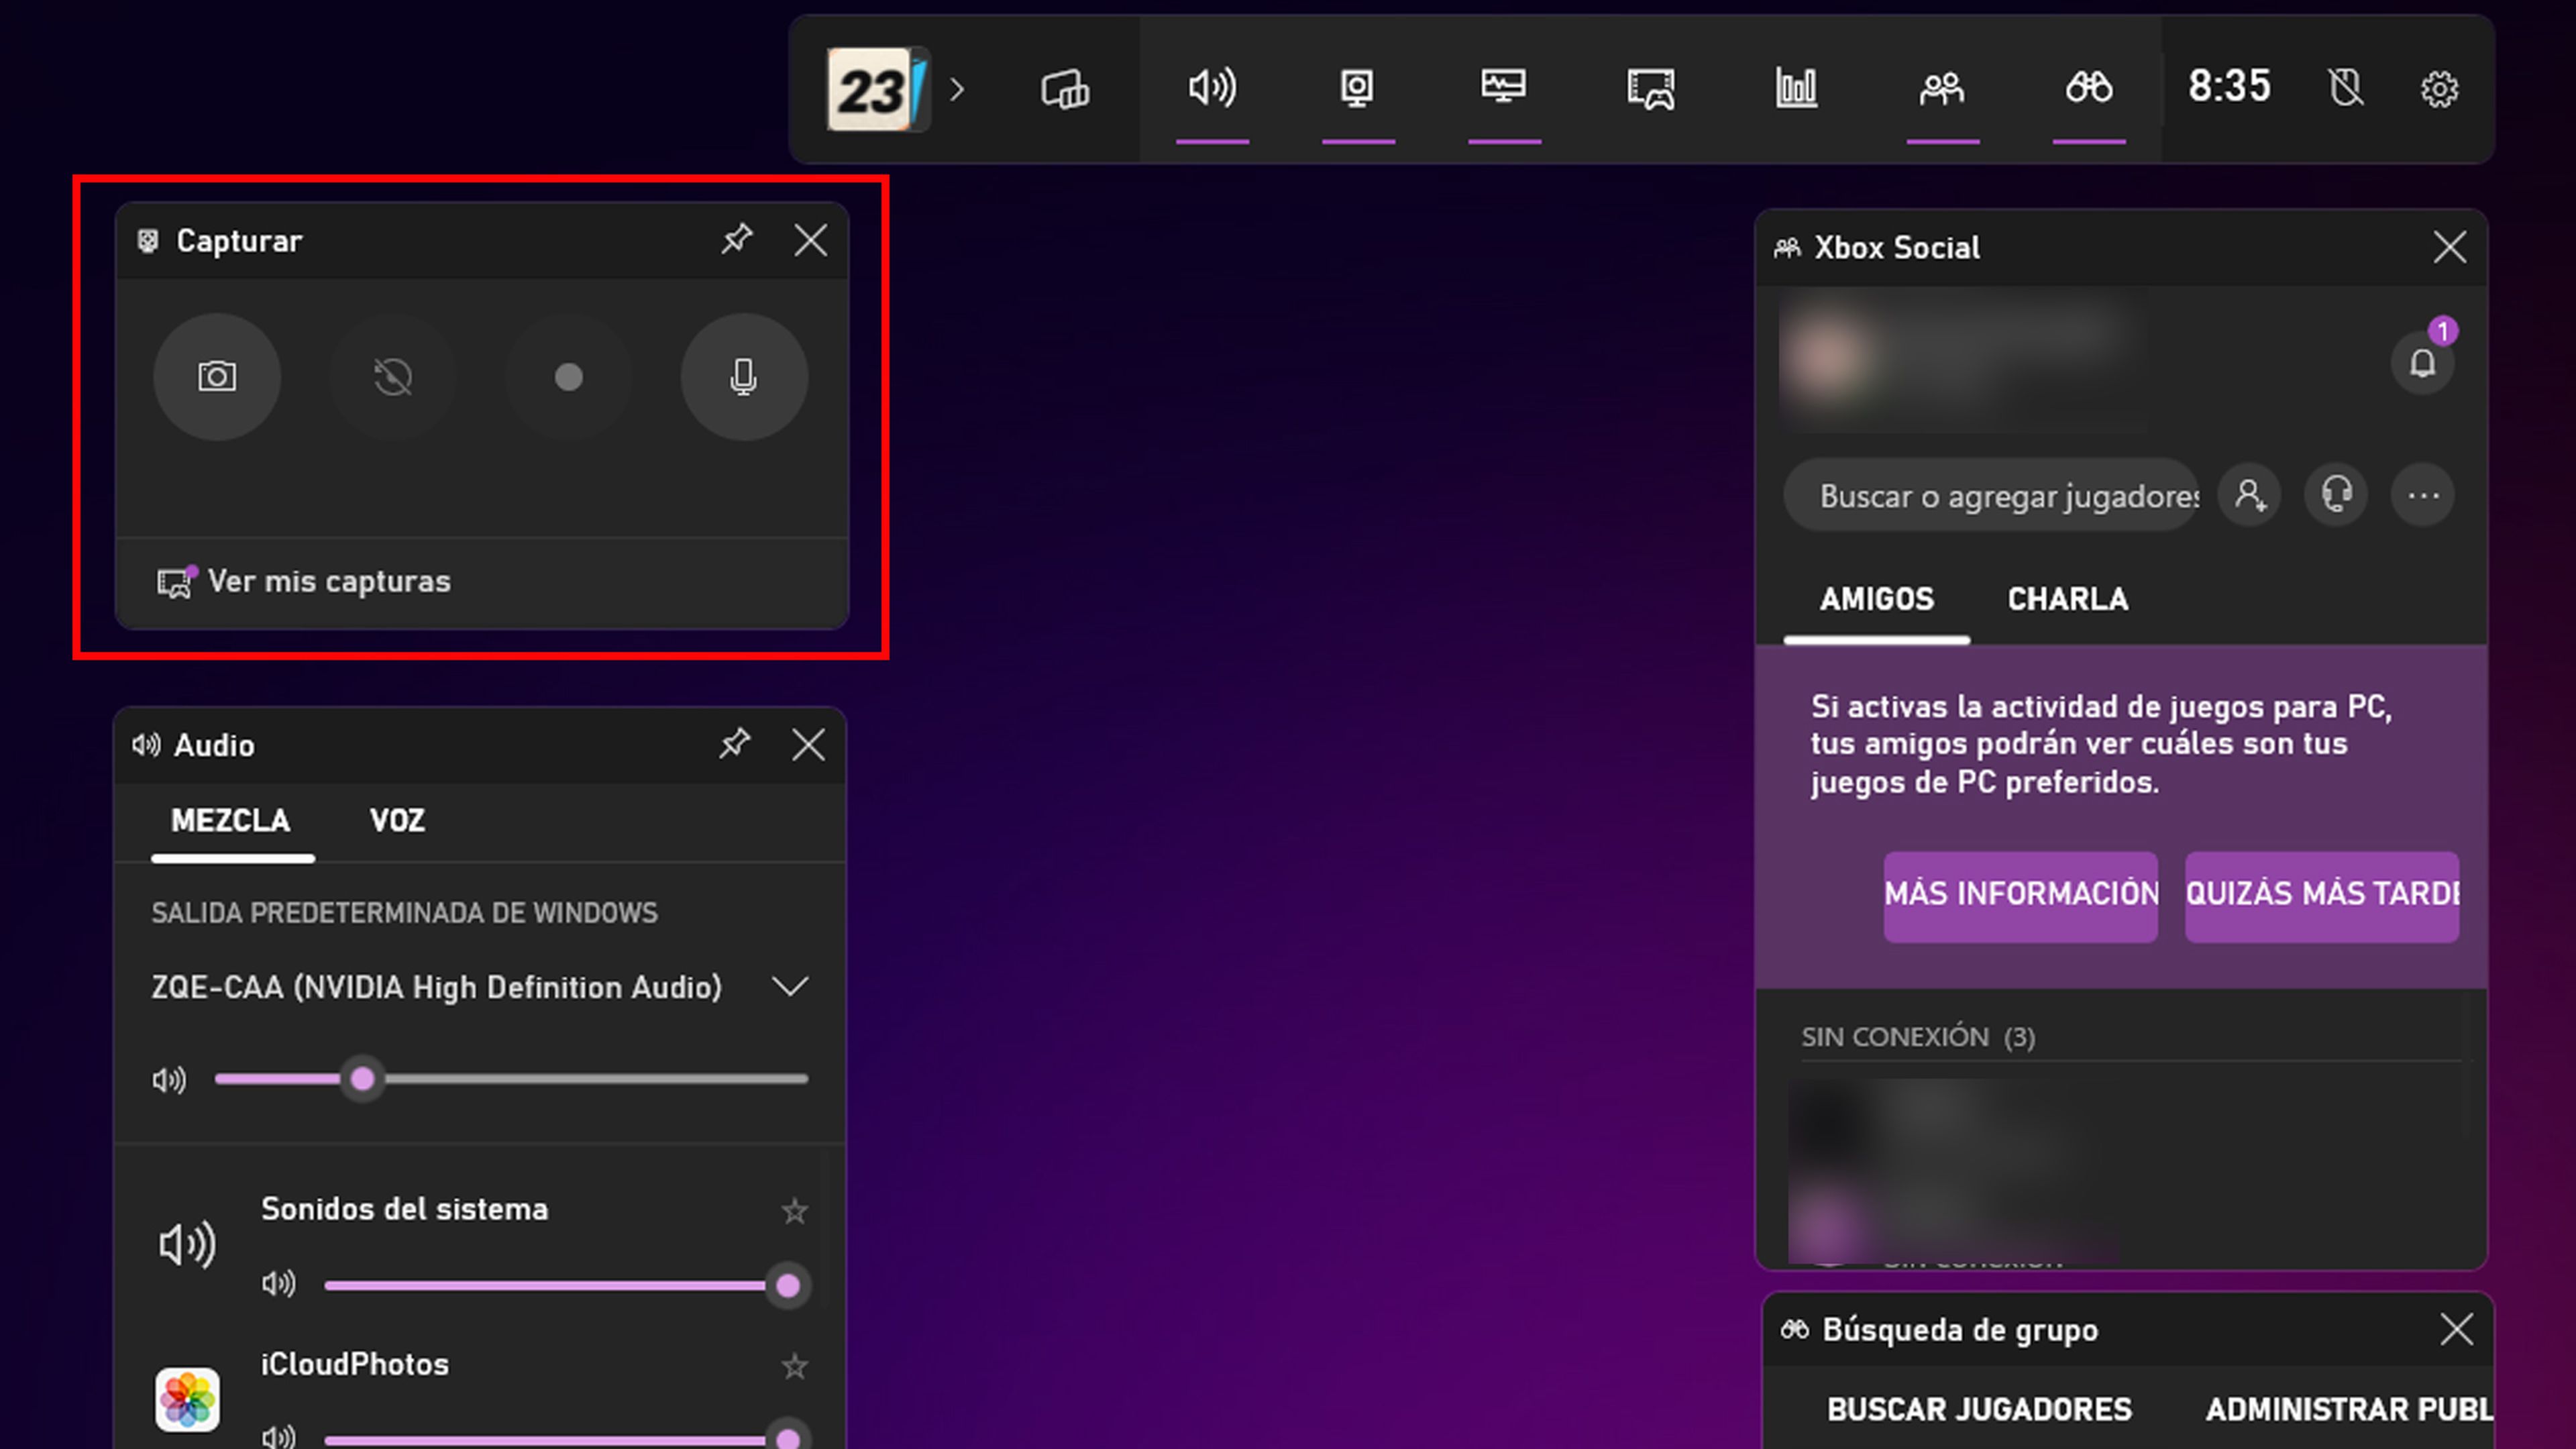
- With games or certain applications the bar is activated automatically. If not, press Win+G.
- Several Game Bar widgets appear with options to capture screenshots, control your video and audio, plus view your Xbox social account.
- Click on it camera icon to take a simple screenshot or click the start recording button to capture full screen activity on video.
- To reach this same situation in a faster way you can press Win+Alt+R to immediately start recording.
You should also know, especially if you take it as normal, that if it is the first time you use the screen recording system, Game Bar it needs you to give it permissions. When it appears on the screen you must click on the check box to give your approval in this action.
At the moment you are recording a small floating bar in the upper right corner of the screen, through which you can control the recording.
When you’re done, press the Record button in the floating bar to stop recording, appearing A notification which tells you that the game clip was recorded.
If you click on this notification, a window will appear where you will see the video that you just recorded You can also see the captures from the Gallery widget.
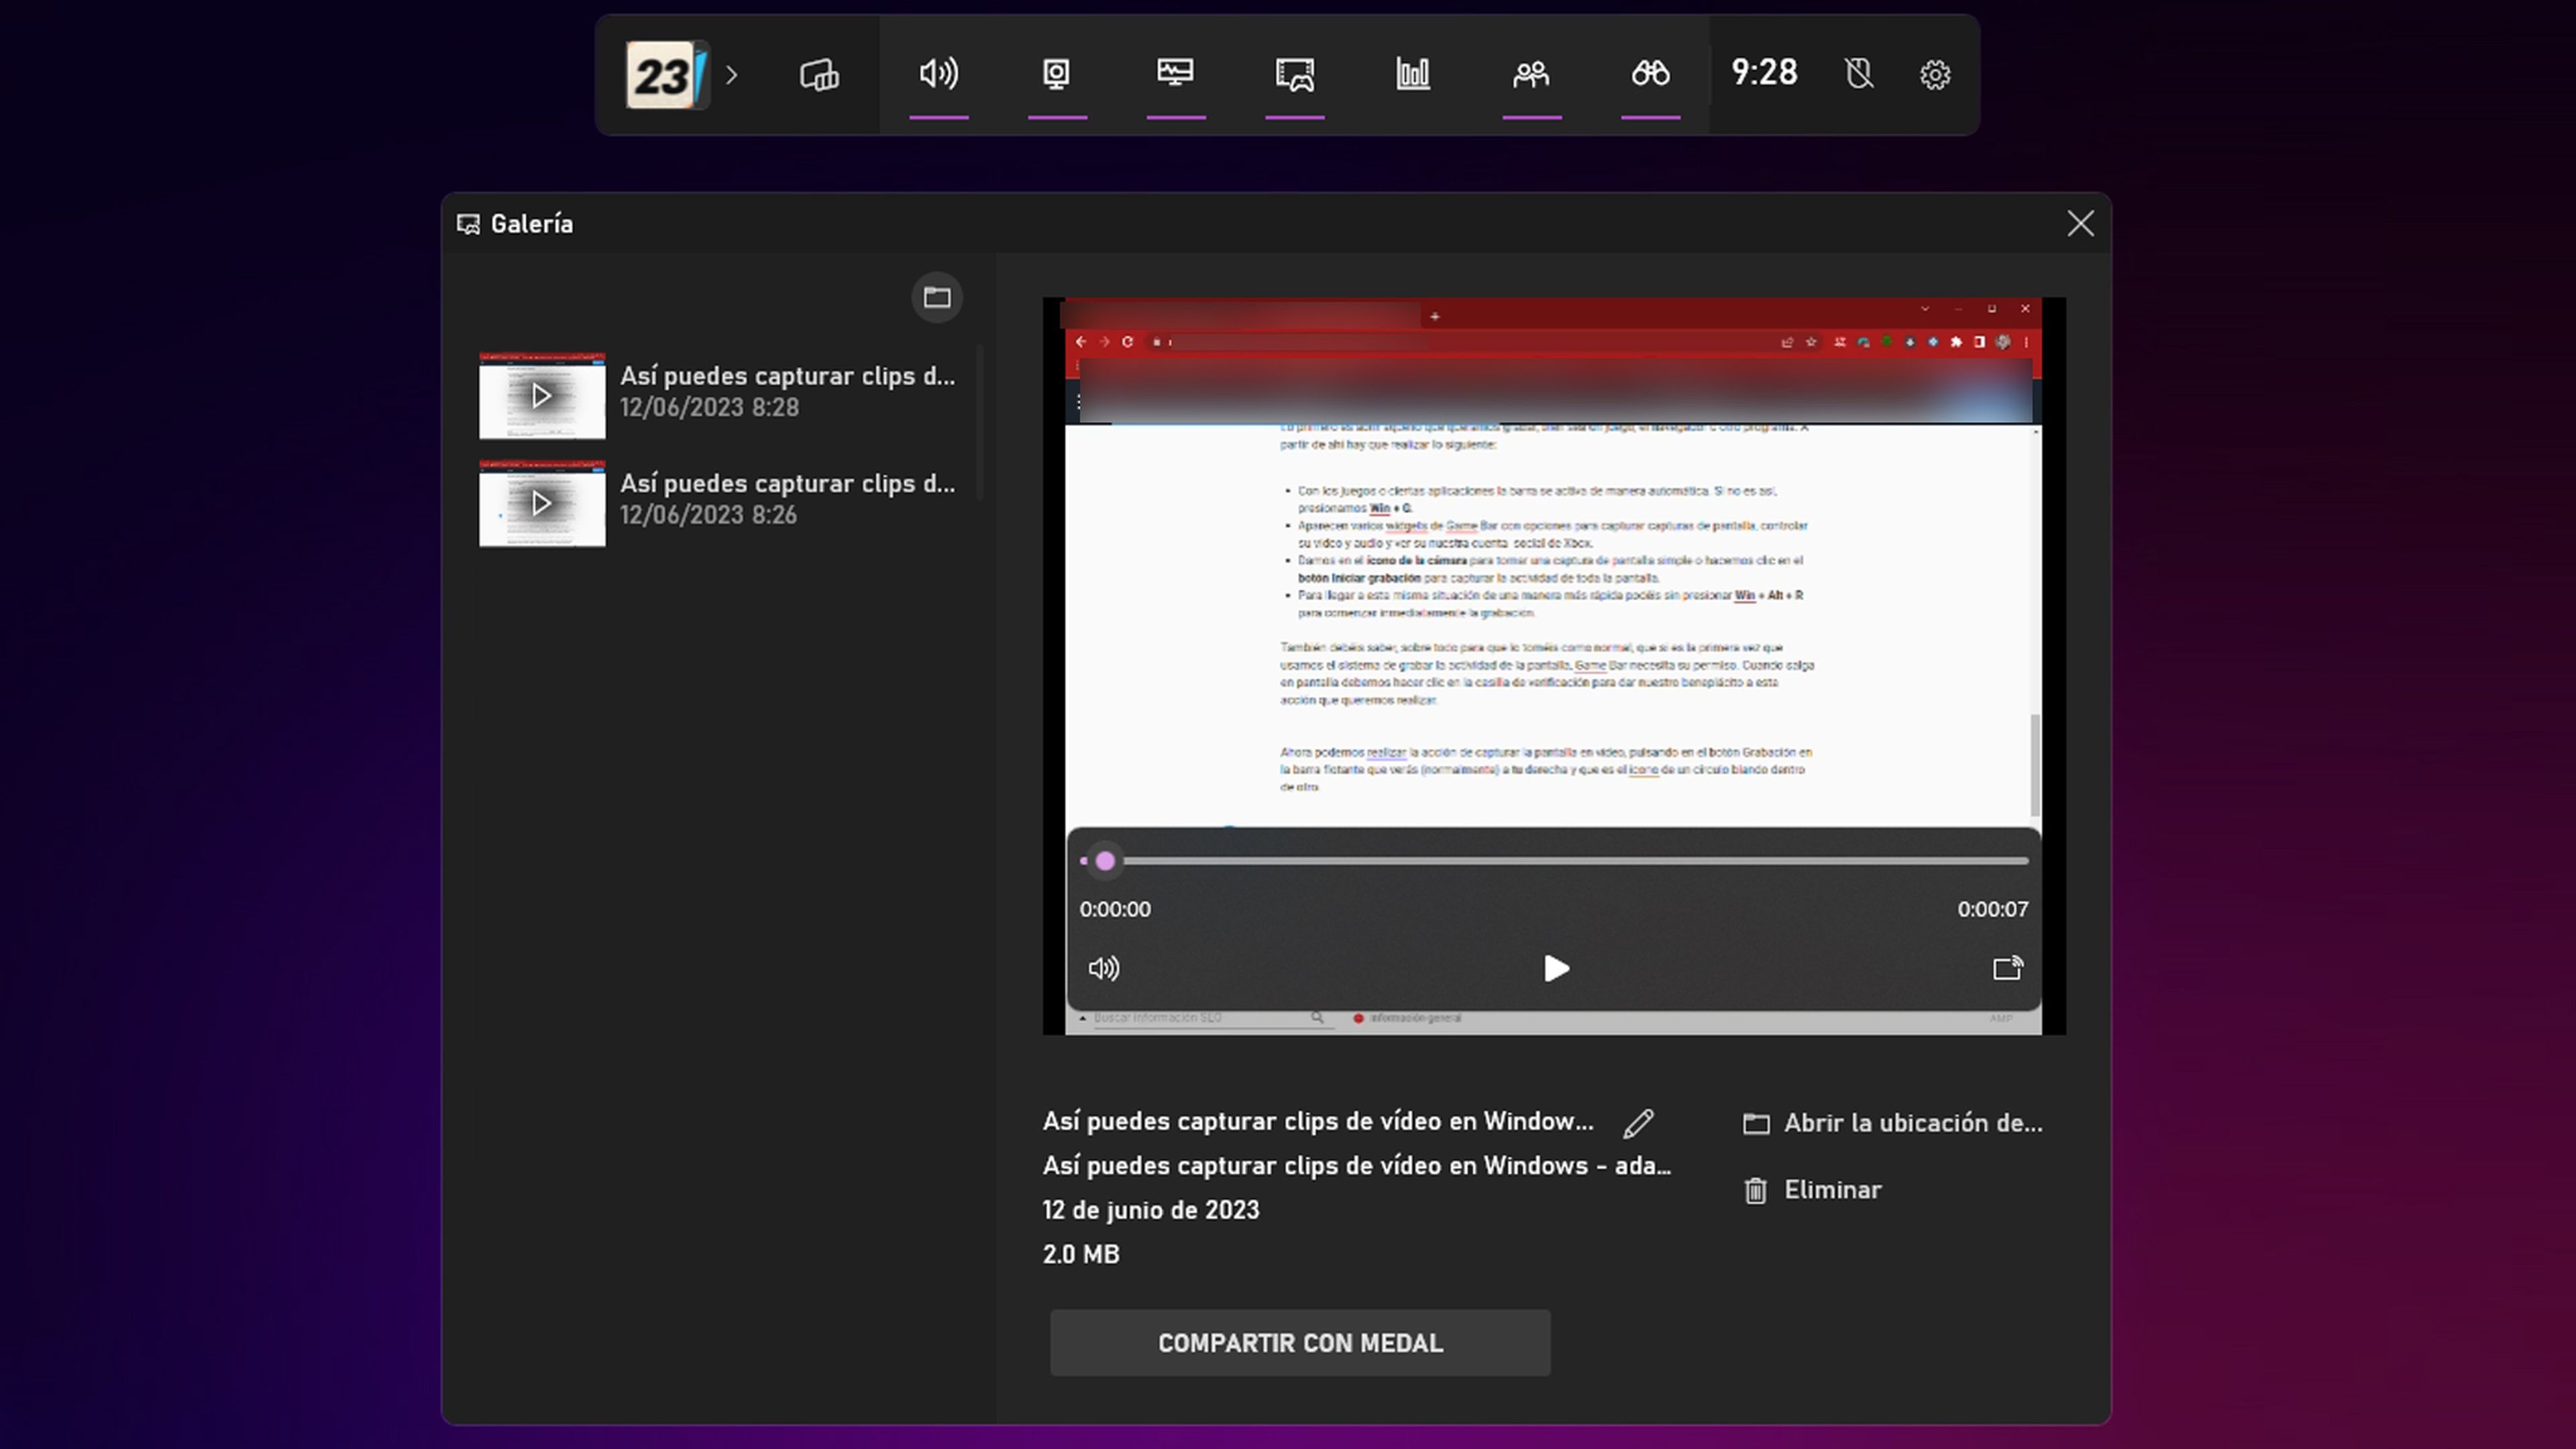
you can click Show all screenshots and thus see all the videos that we have recorded. Once inside, select the one you want to see and click on the play button.
Also, you can delete it or access the exact location where the file is thanks to File Explorer. The default location is C:\Users\[nombre de usuario]\Videos\Screens
In any case, this can be changed without problems whenever you go to Settings > Games > Captures and click on the button open folderand then choose the one you want.
Windows 11 Snipping Tool
There is also the option of using the crop toolsince now, it not only captures the Windows screen, but is also capable of recording it.
You must have at least the compilation of Windows 11 22621.1344 or higher. If you want to know if your operating system is within this version, you just have to go to Settings > System > Information and consult in the section Windows specifications to see what version you have.
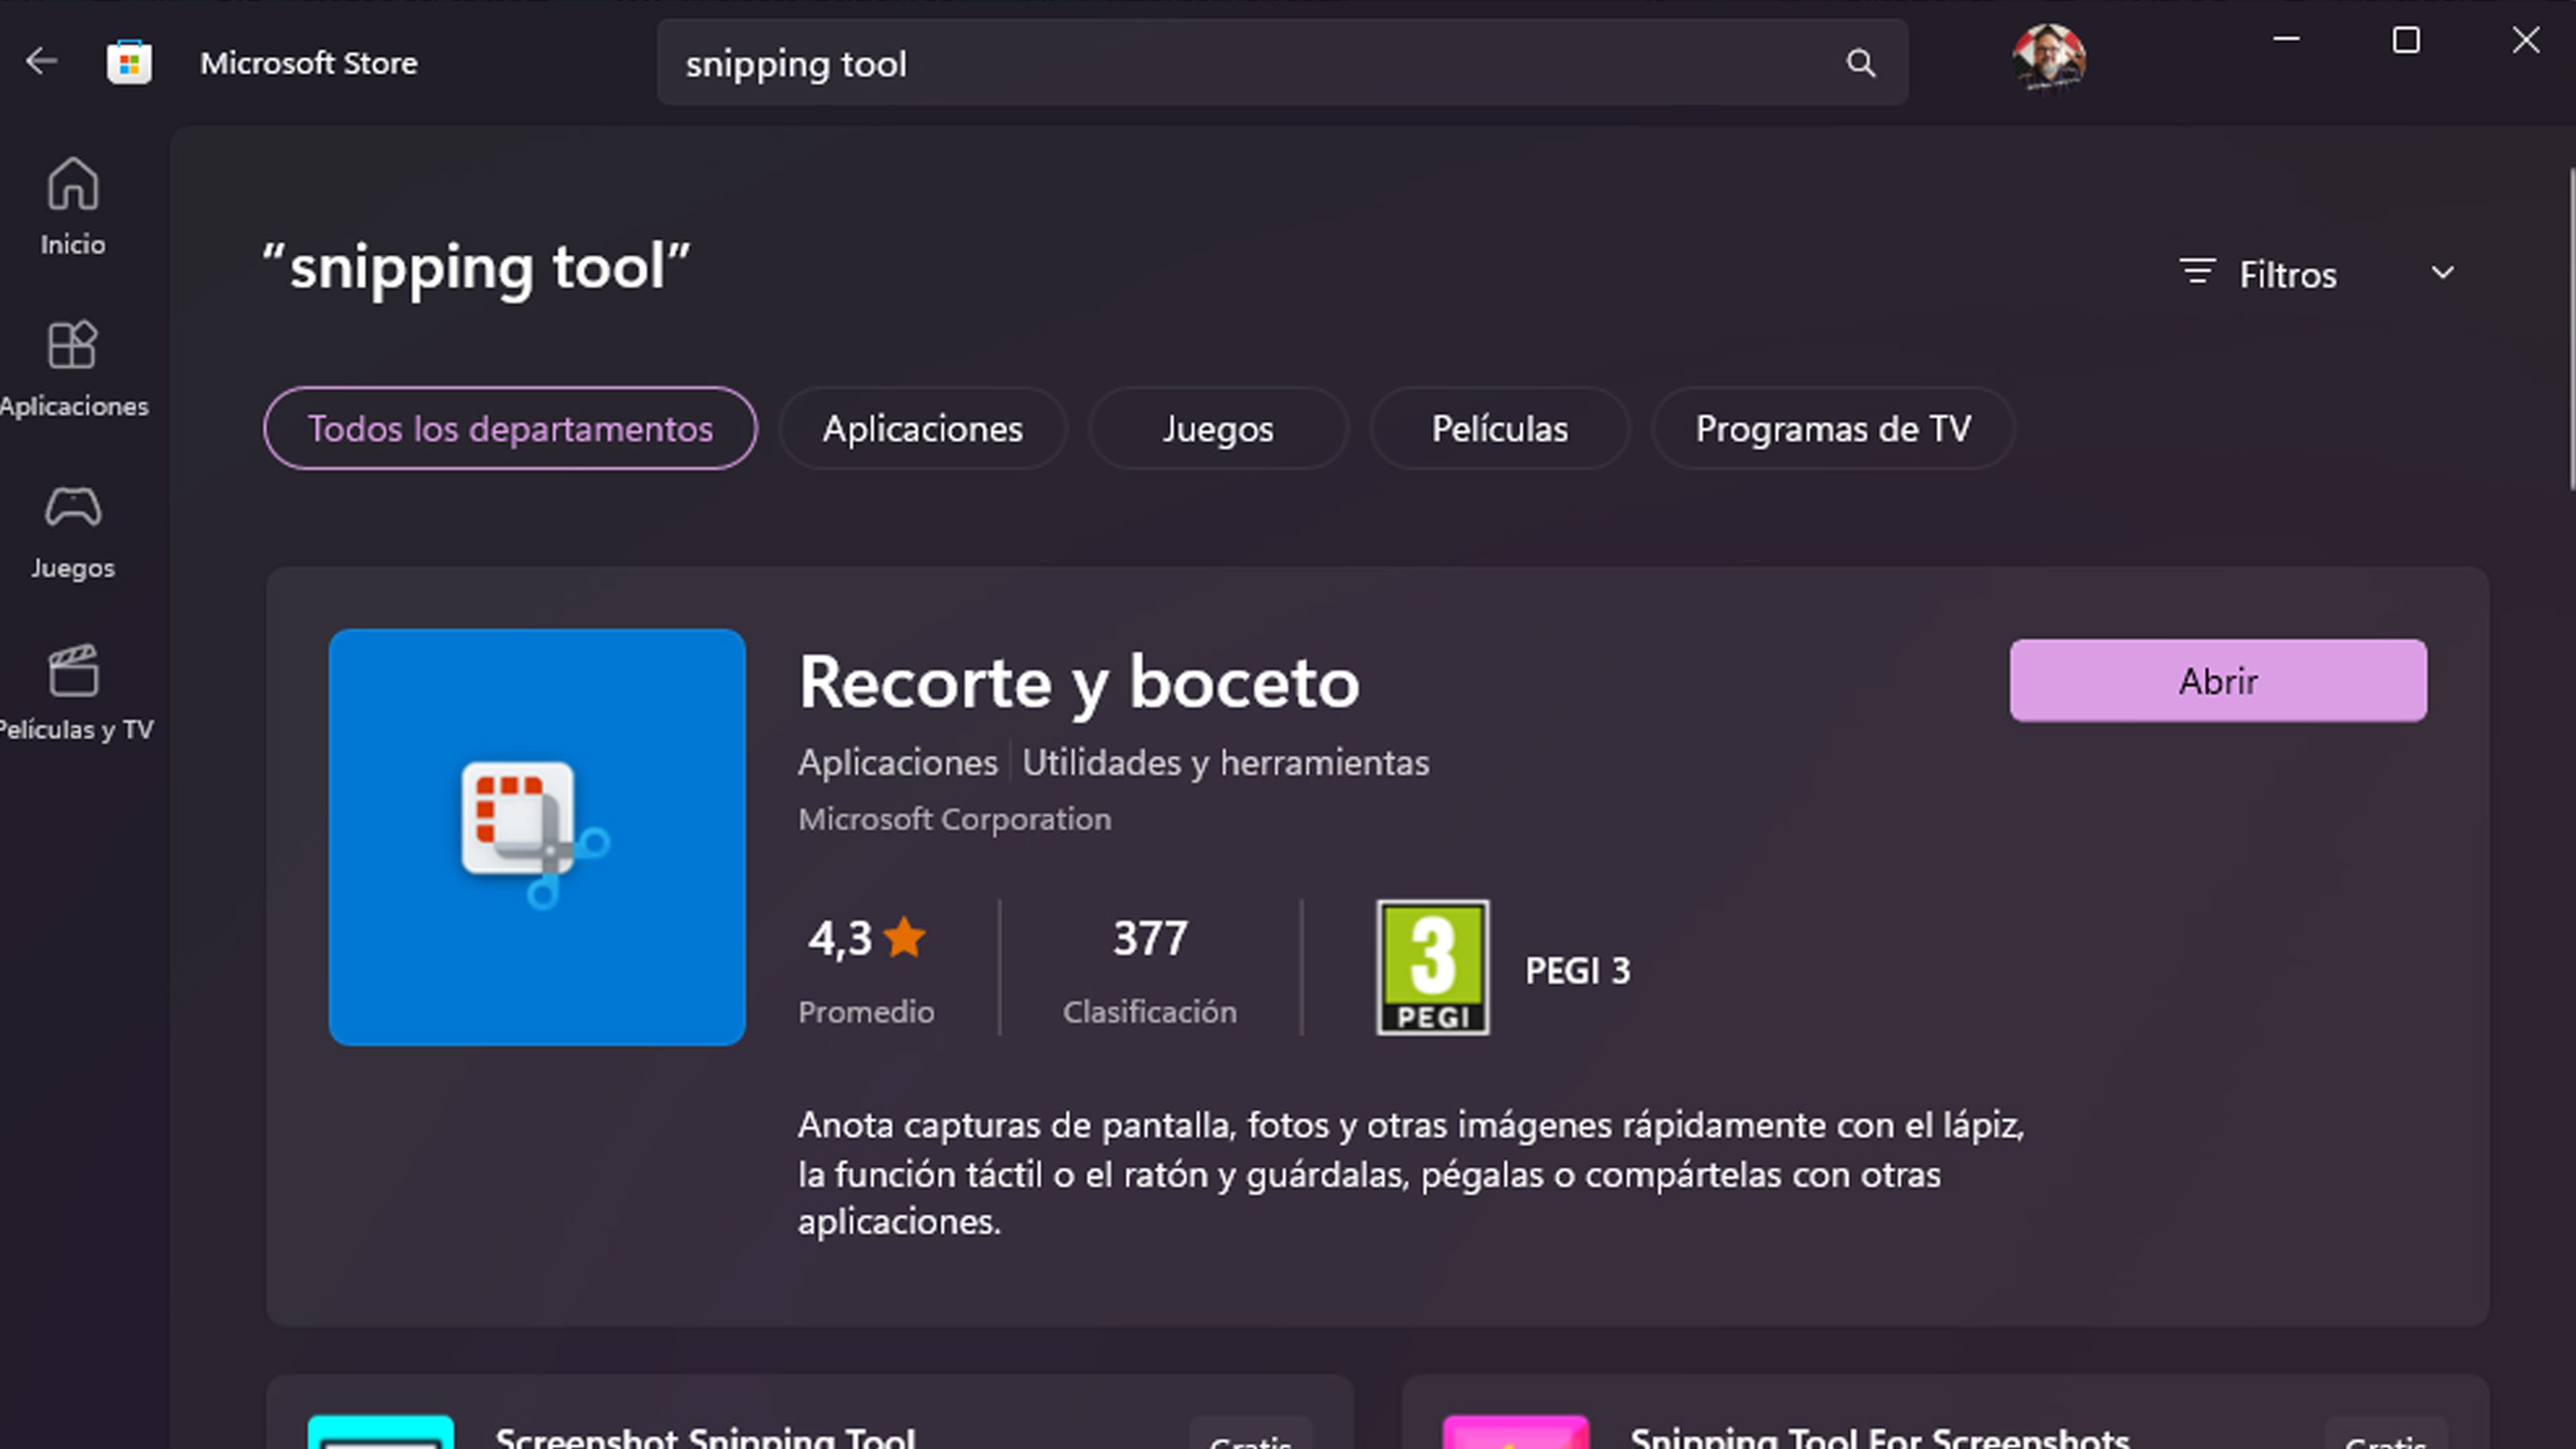
If you don’t have the right build, you always have to go to the store Microsoft Storelook for cutout and sketchto then install the relevant update.
How to record Windows screen with the snipping tool
Use this tool to Recording the Windows 11 screen on video is very simple. Open the window, application or whatever you want to convert to a video file and follow these steps:
- Open the snipping tool by selecting the app from the Start menu.
- Then click on the camera icon on the toolbar.
- Next, you have to click on the New button.
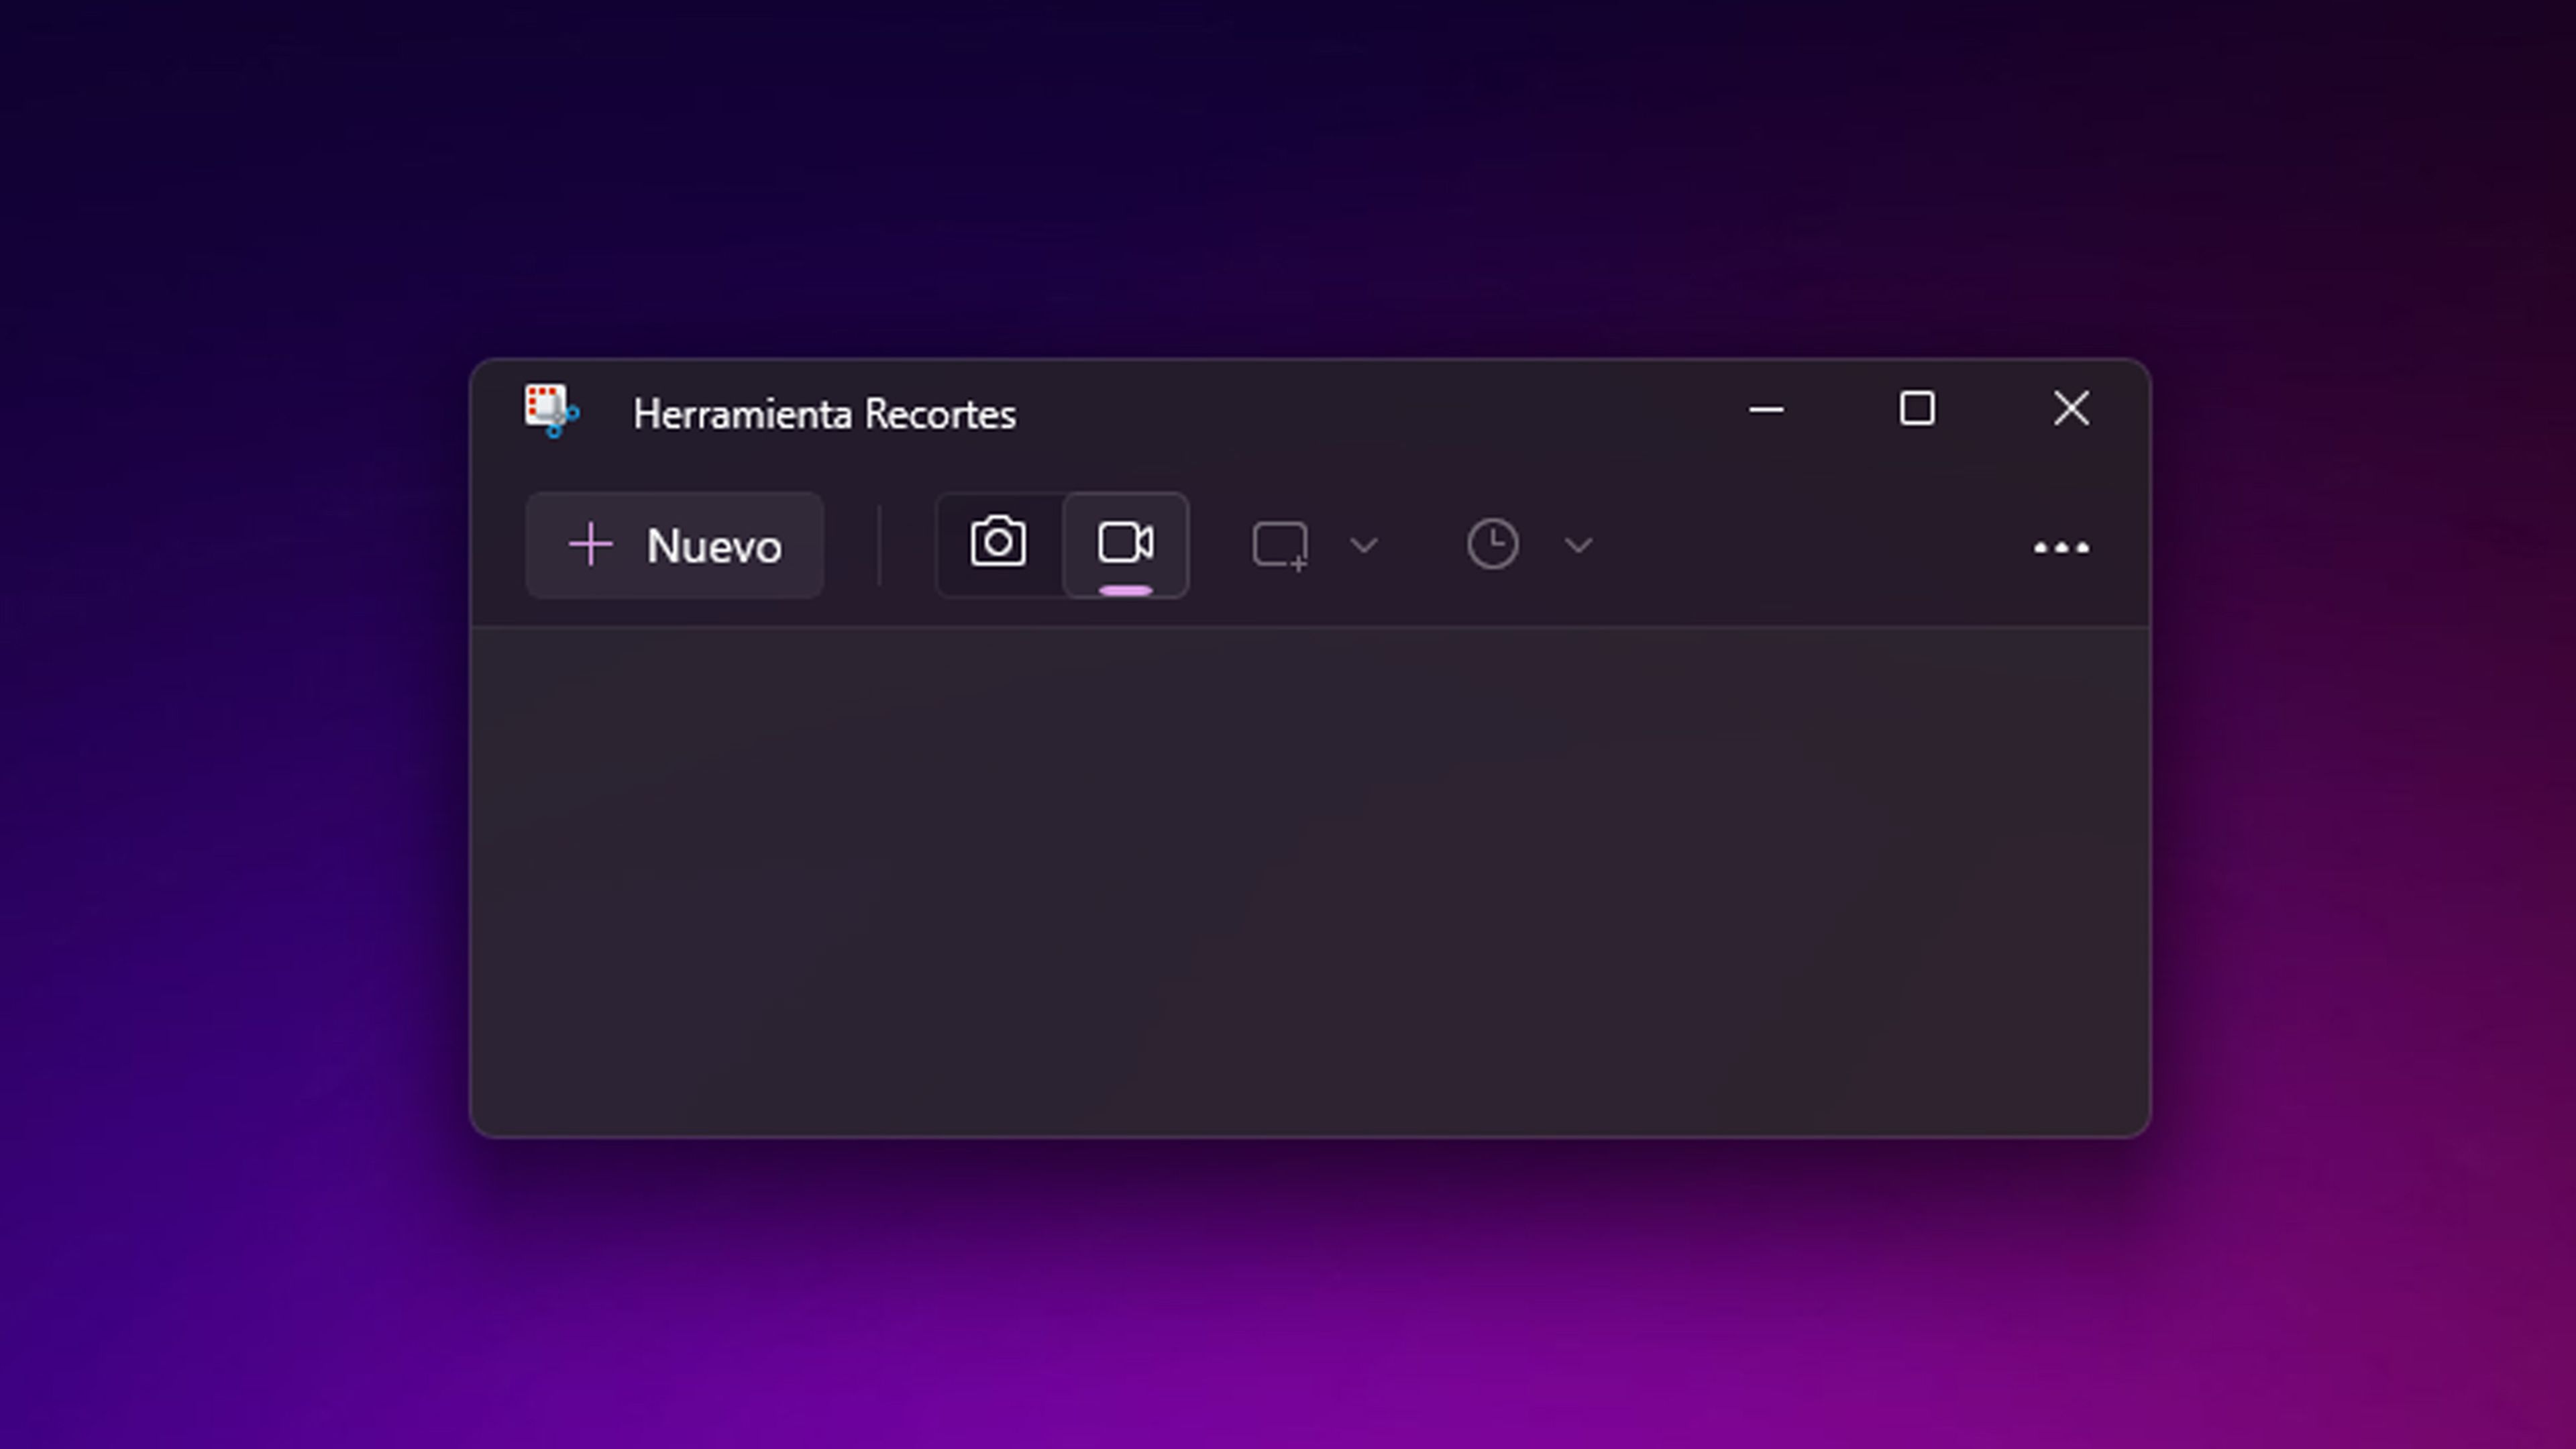
- You will now see a small recording toolbar appear at the top of the screen.
- Select the part of the screen that you want to capture (it can be all) and then click on the start button on the toolbar.
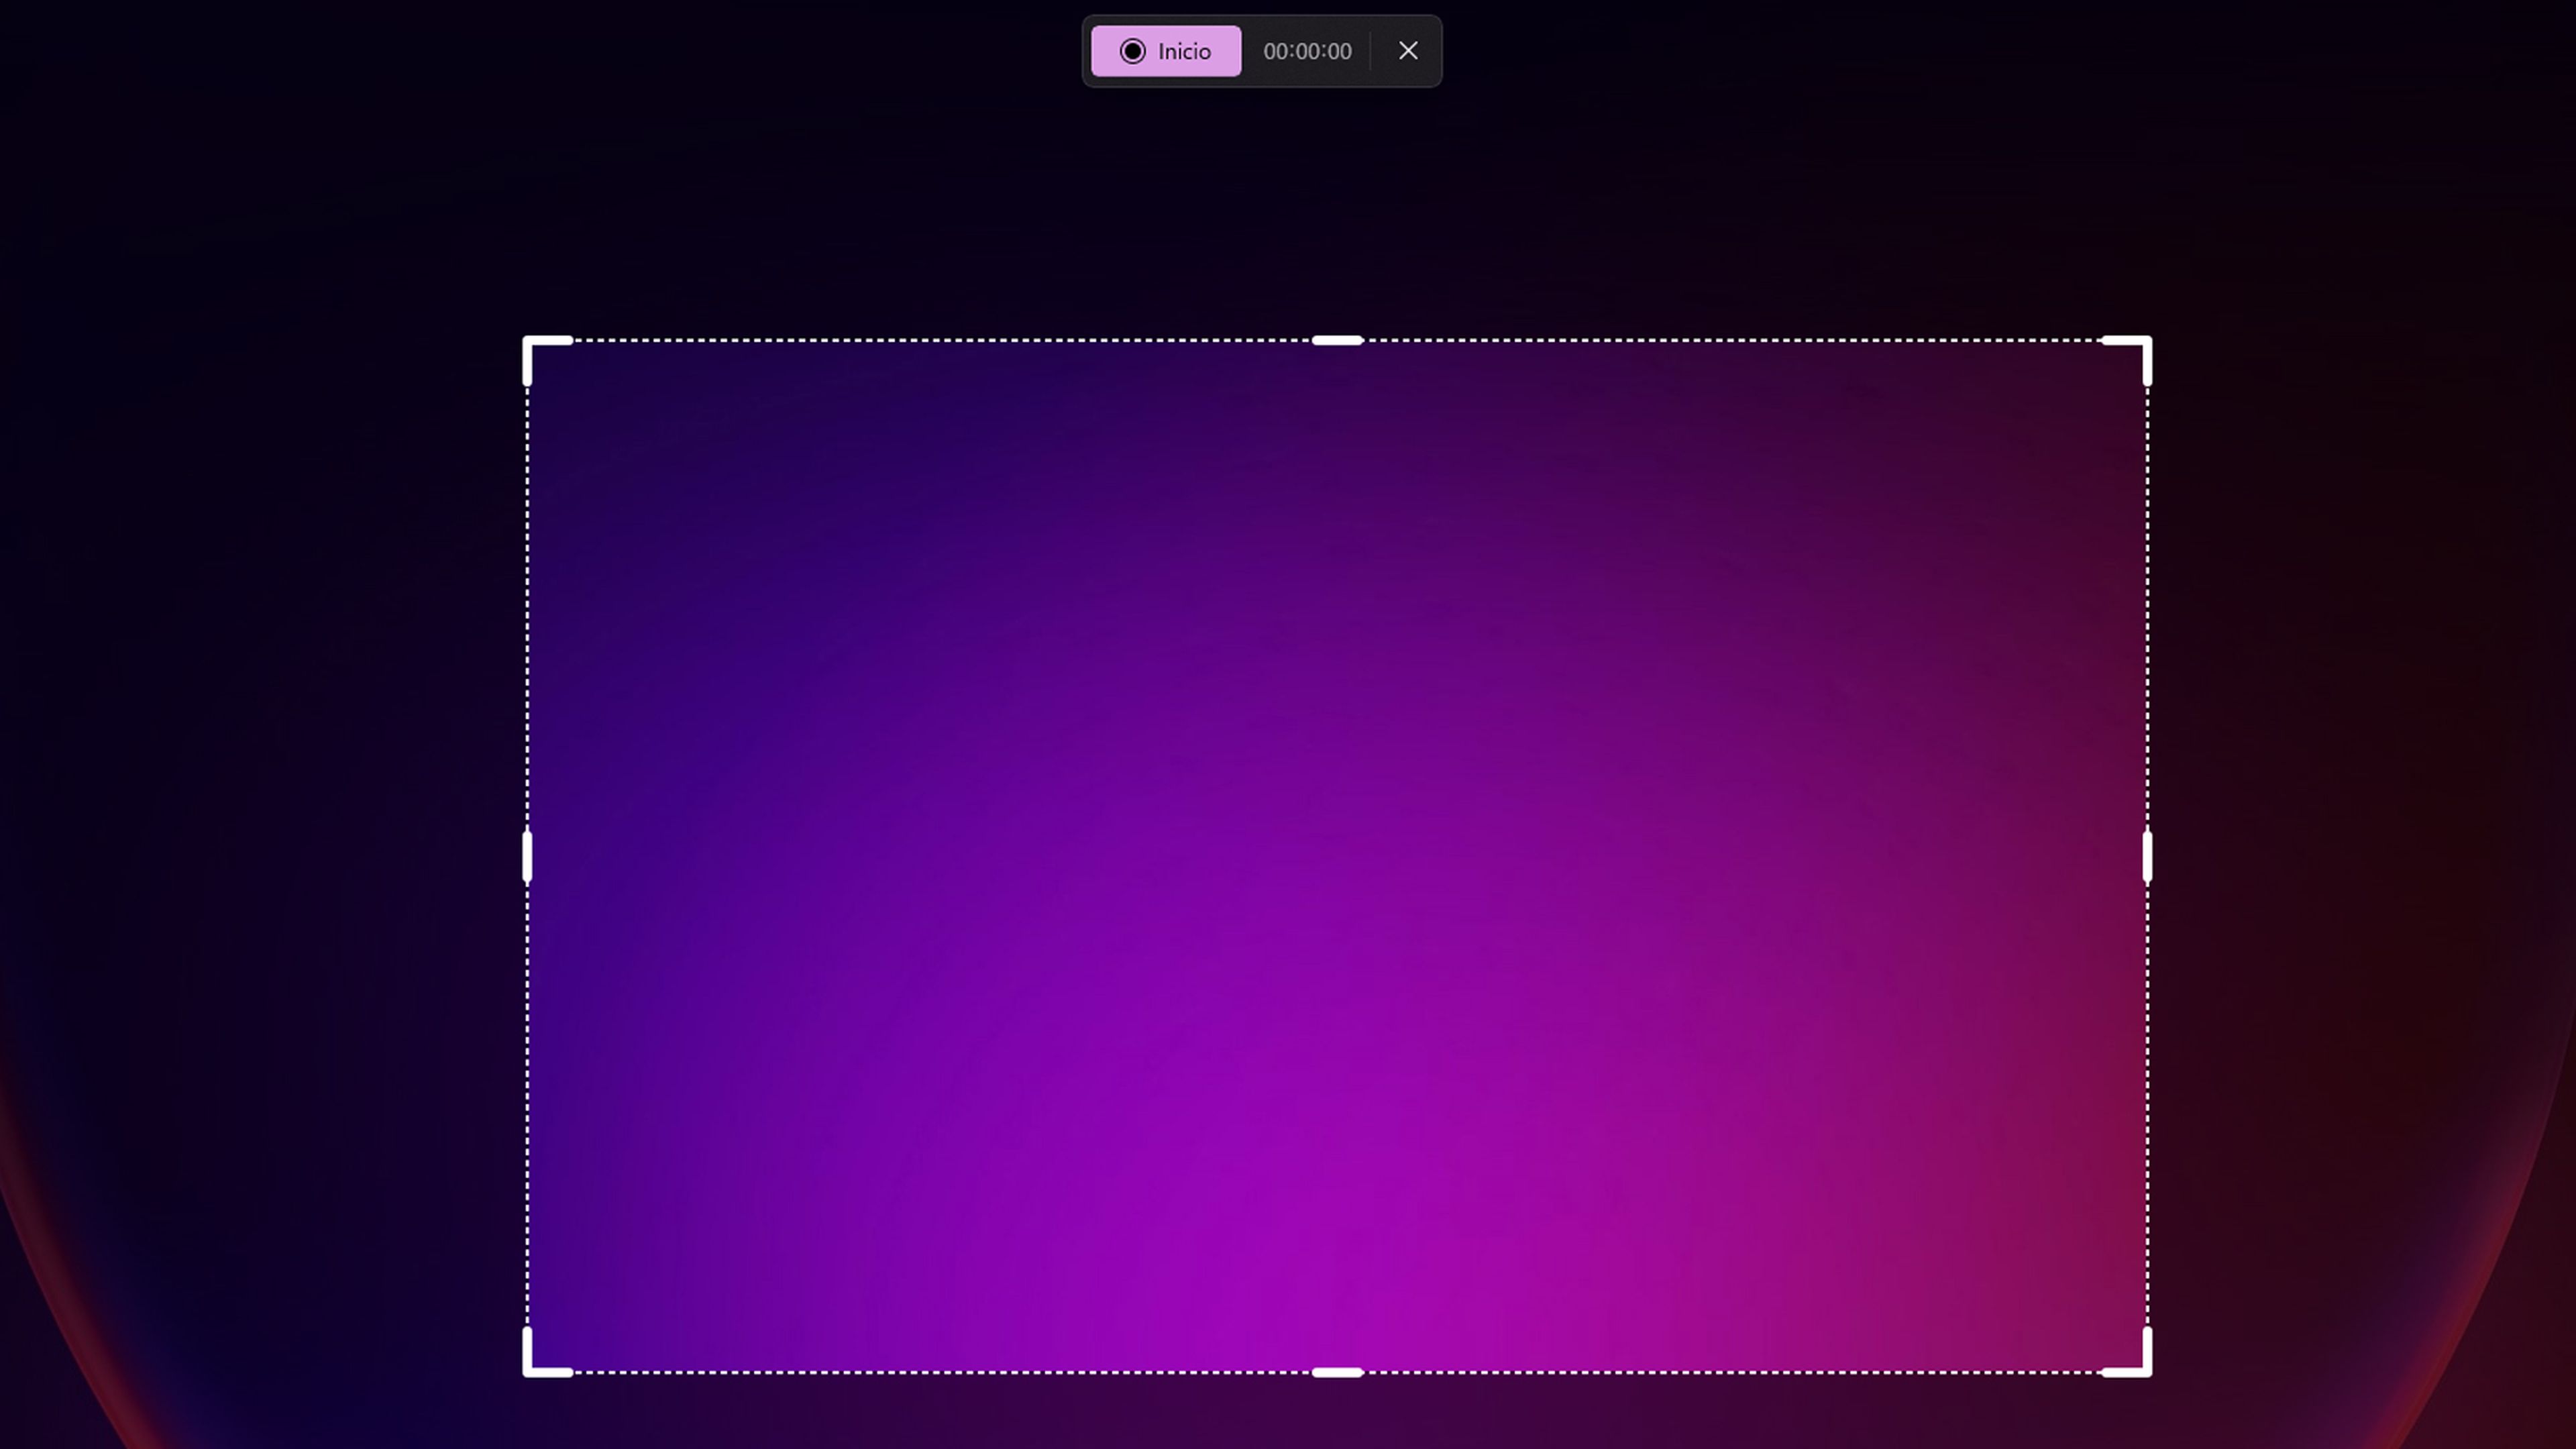
- If you need it, you can give Pause to stop recording and resume it whenever you want
- The moment you finish is when you have to click on the button Arrest.
- Now a window will appear where you can see the video you just recorded, being able to play it and see how it turned out.
- If you click on Share you will be able to pass the recording of the Windows screen to a person, application or service.
- When clicking on Keep the recording will be saved as an MP4 file on the computer.
how did you read Windows 11 allows you to record your computer screen in a much easier way than you could imagine.
Now it only remains for you to try both ways and use the one you like the most to record the Windows screen on video.


![[Img #74664]](https://thelatestnews.world/wp-content/uploads/2024/12/James-Watson-The-controversial-genius-behind-the-double-helix-300x200.jpg)