We already know what are the virtues of having Windows on a computer, but installing Android at the same time and being able to enjoy its apps can make a big difference.
If we get some Android applications to be present in our Windows operating system, we will be able to enjoy both ecosystems at the same time, which will be a great advantage considering the number of good apps that Google software has.
Well, today we are going to see how you can enjoy the Android operating system together with Windows on the same device.
We will see the option that exists today thanks to Windows 11 and the Android subsystem helped by the Amazon Appstore, which can also make us enjoy all the apps of the big G operating system without leaving Microsoft’s.
How to install Android on a Windows PC, step by step:
Android on Windows 11
The easiest way to have Android and be able to work with your apps in Windows, it is to use the compatibility of version 11 with this need.
In theory the Windows Subsystem for Android (compatibility between systems) is already pre-installed in Windows, so all you have to do is do the following:
- The first thing you should do is go to the Windows 11 app store to download and install amazon app store.
- Once installed, you must open it and configure it.
- Just press Advance first, then in Set up and then in Discharge.
- Now will be the moment in which it asks you to restart the computer, something that you must do to continue with the configuration.
- As soon as the computer has restarted, it will automatically load the Windows Subsystem for Android.
- We wait a few seconds for it to finish.
- When the store ends amazon app store It would already be installed and ready to use.
Install Android x86 on a computer along with Windows
As you well know, Android is an open source operating system designed basically for mobile devices owned by the Google company.
Most of the mobile phones and tablets that are currently in the world have this operating system installed. Thanks to it, you can download and install applications of all kinds to complete a better experience for the user.
Android x86 can be a solution to get the operating system to work together with Windows, although the main drawback is that can’t use google play store.
Even so, it should not be a problem to install applications since we can download them in Format apk to install them.
That said, it is time to start with the steps to get Android x86 on our Windows computer.
Download Android x86 and Rufus
The first thing we have to do is download Android x86 to be able to install it on Windows.
For that you have to do the following:
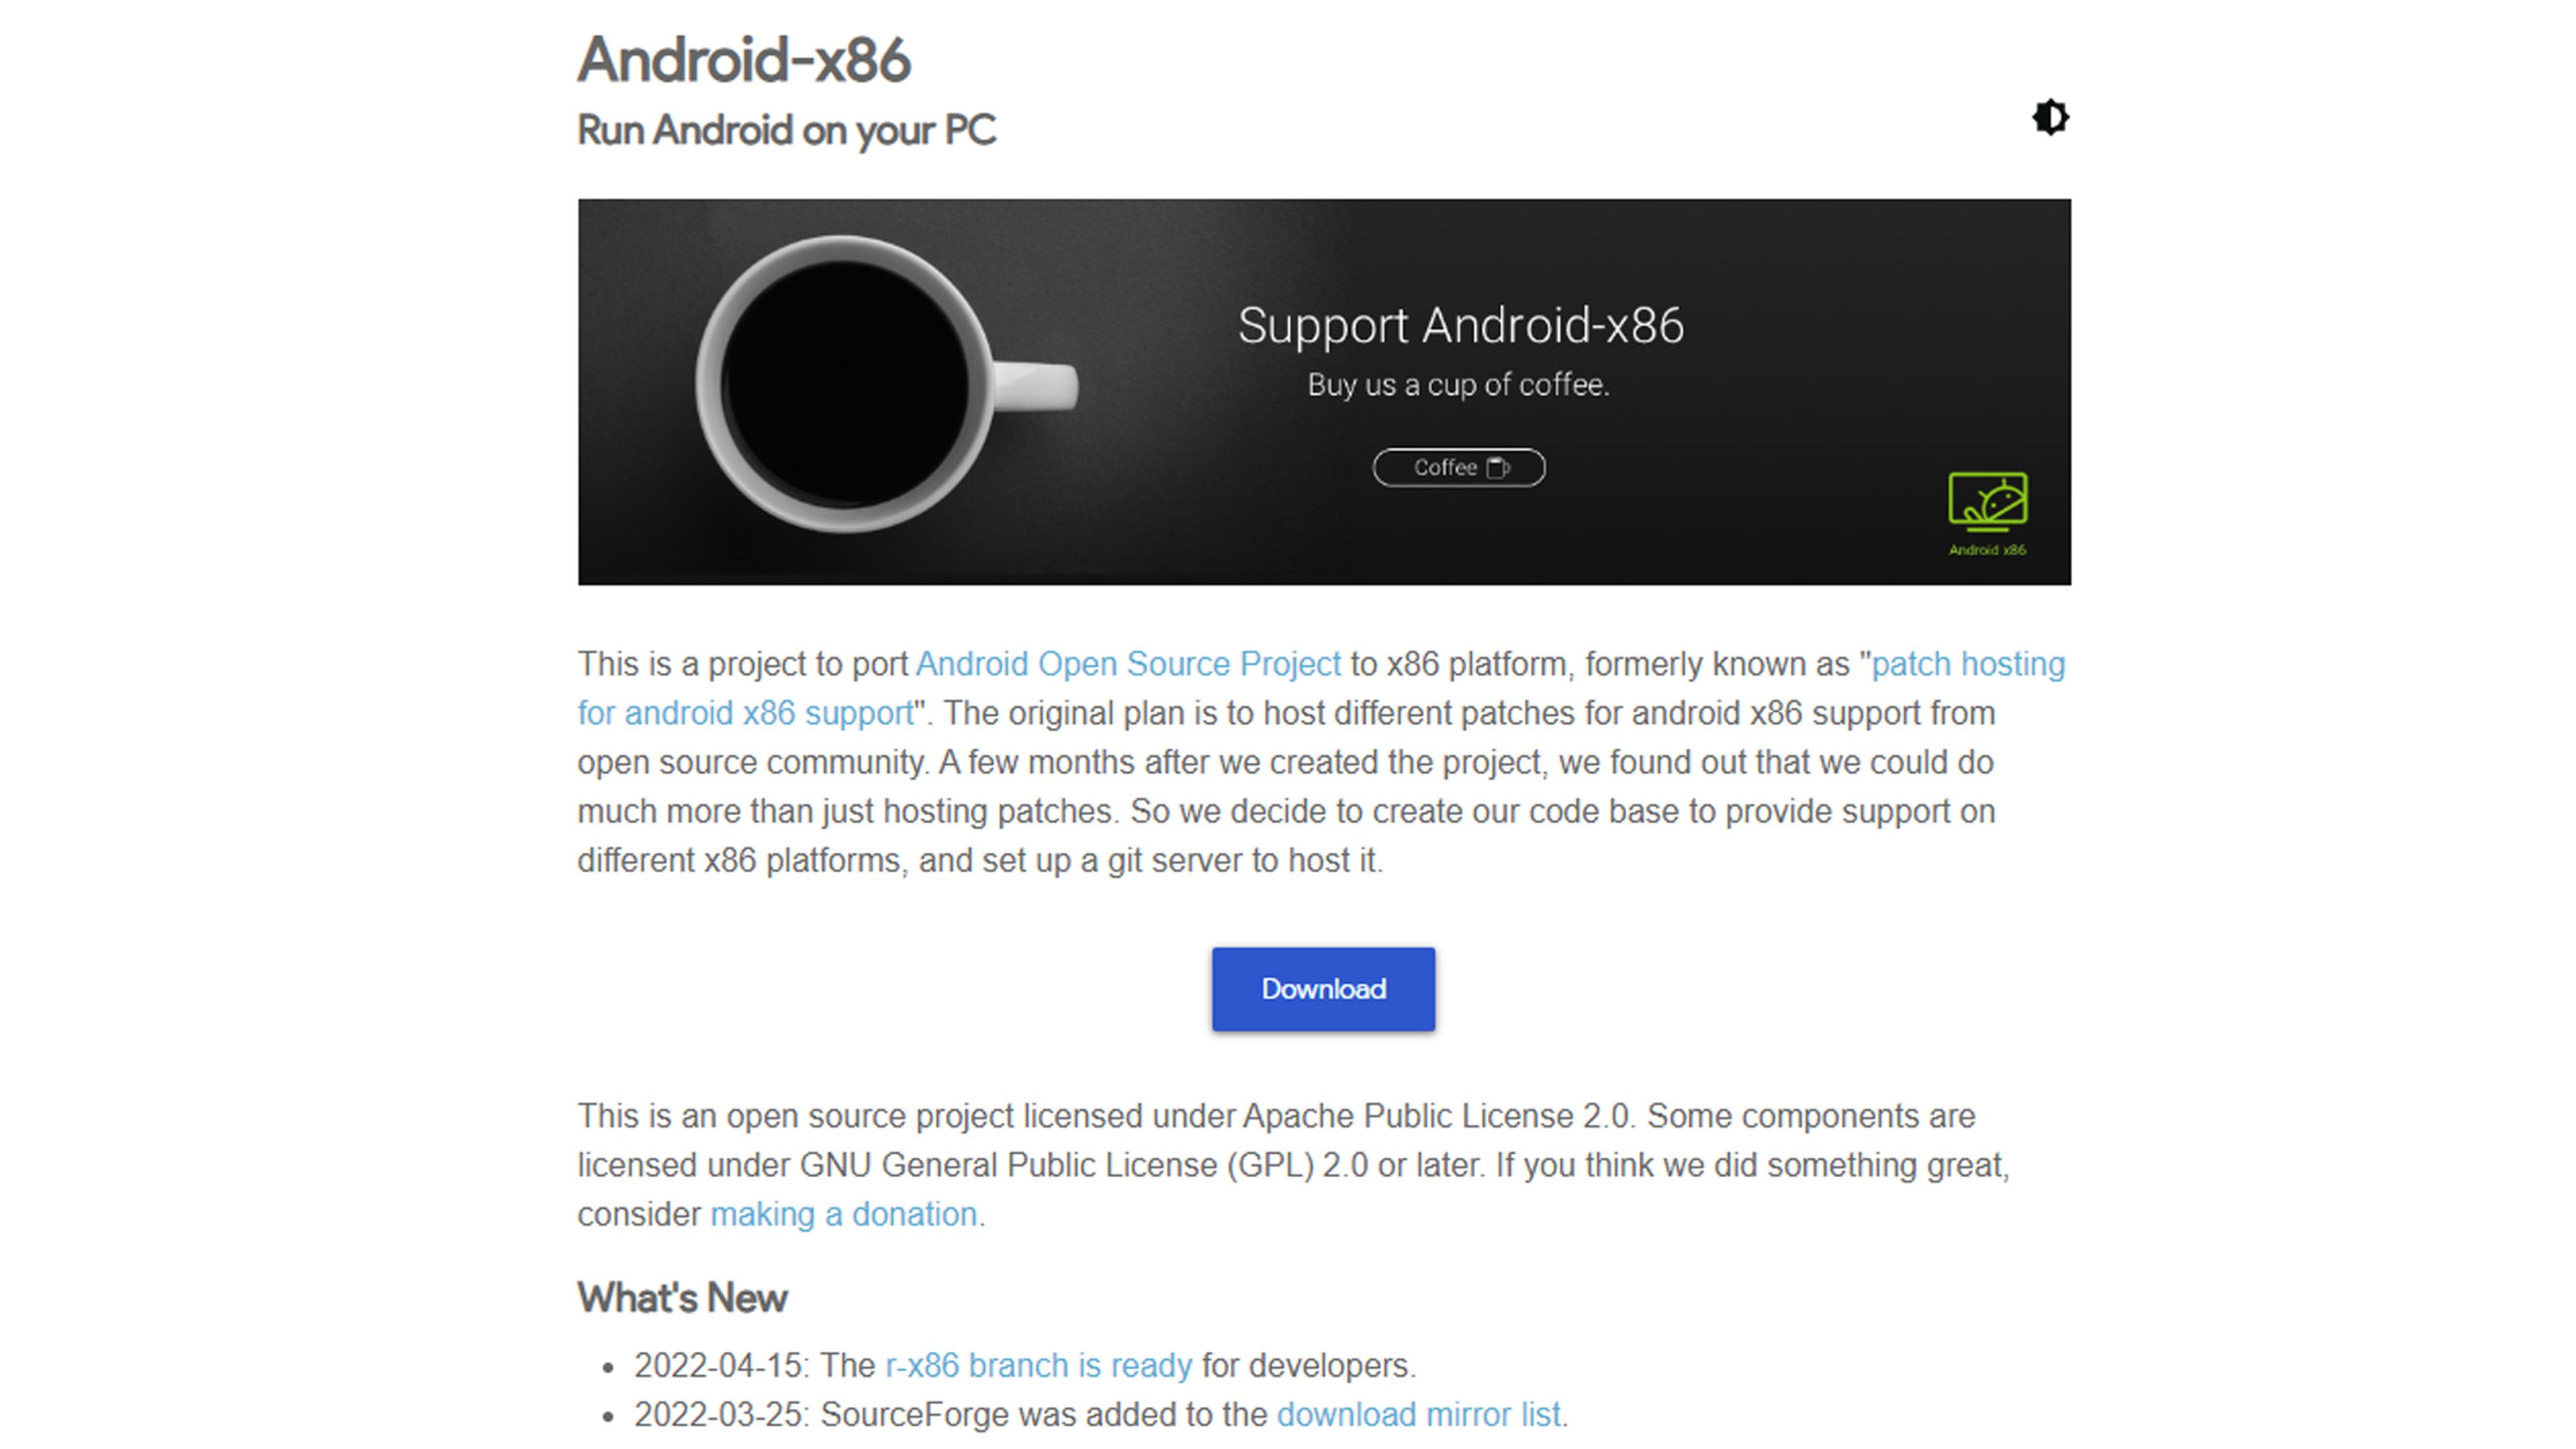
- We open the browser and go to the official Web site of the Android operating system x86.
- On the home page, click on the button Download.
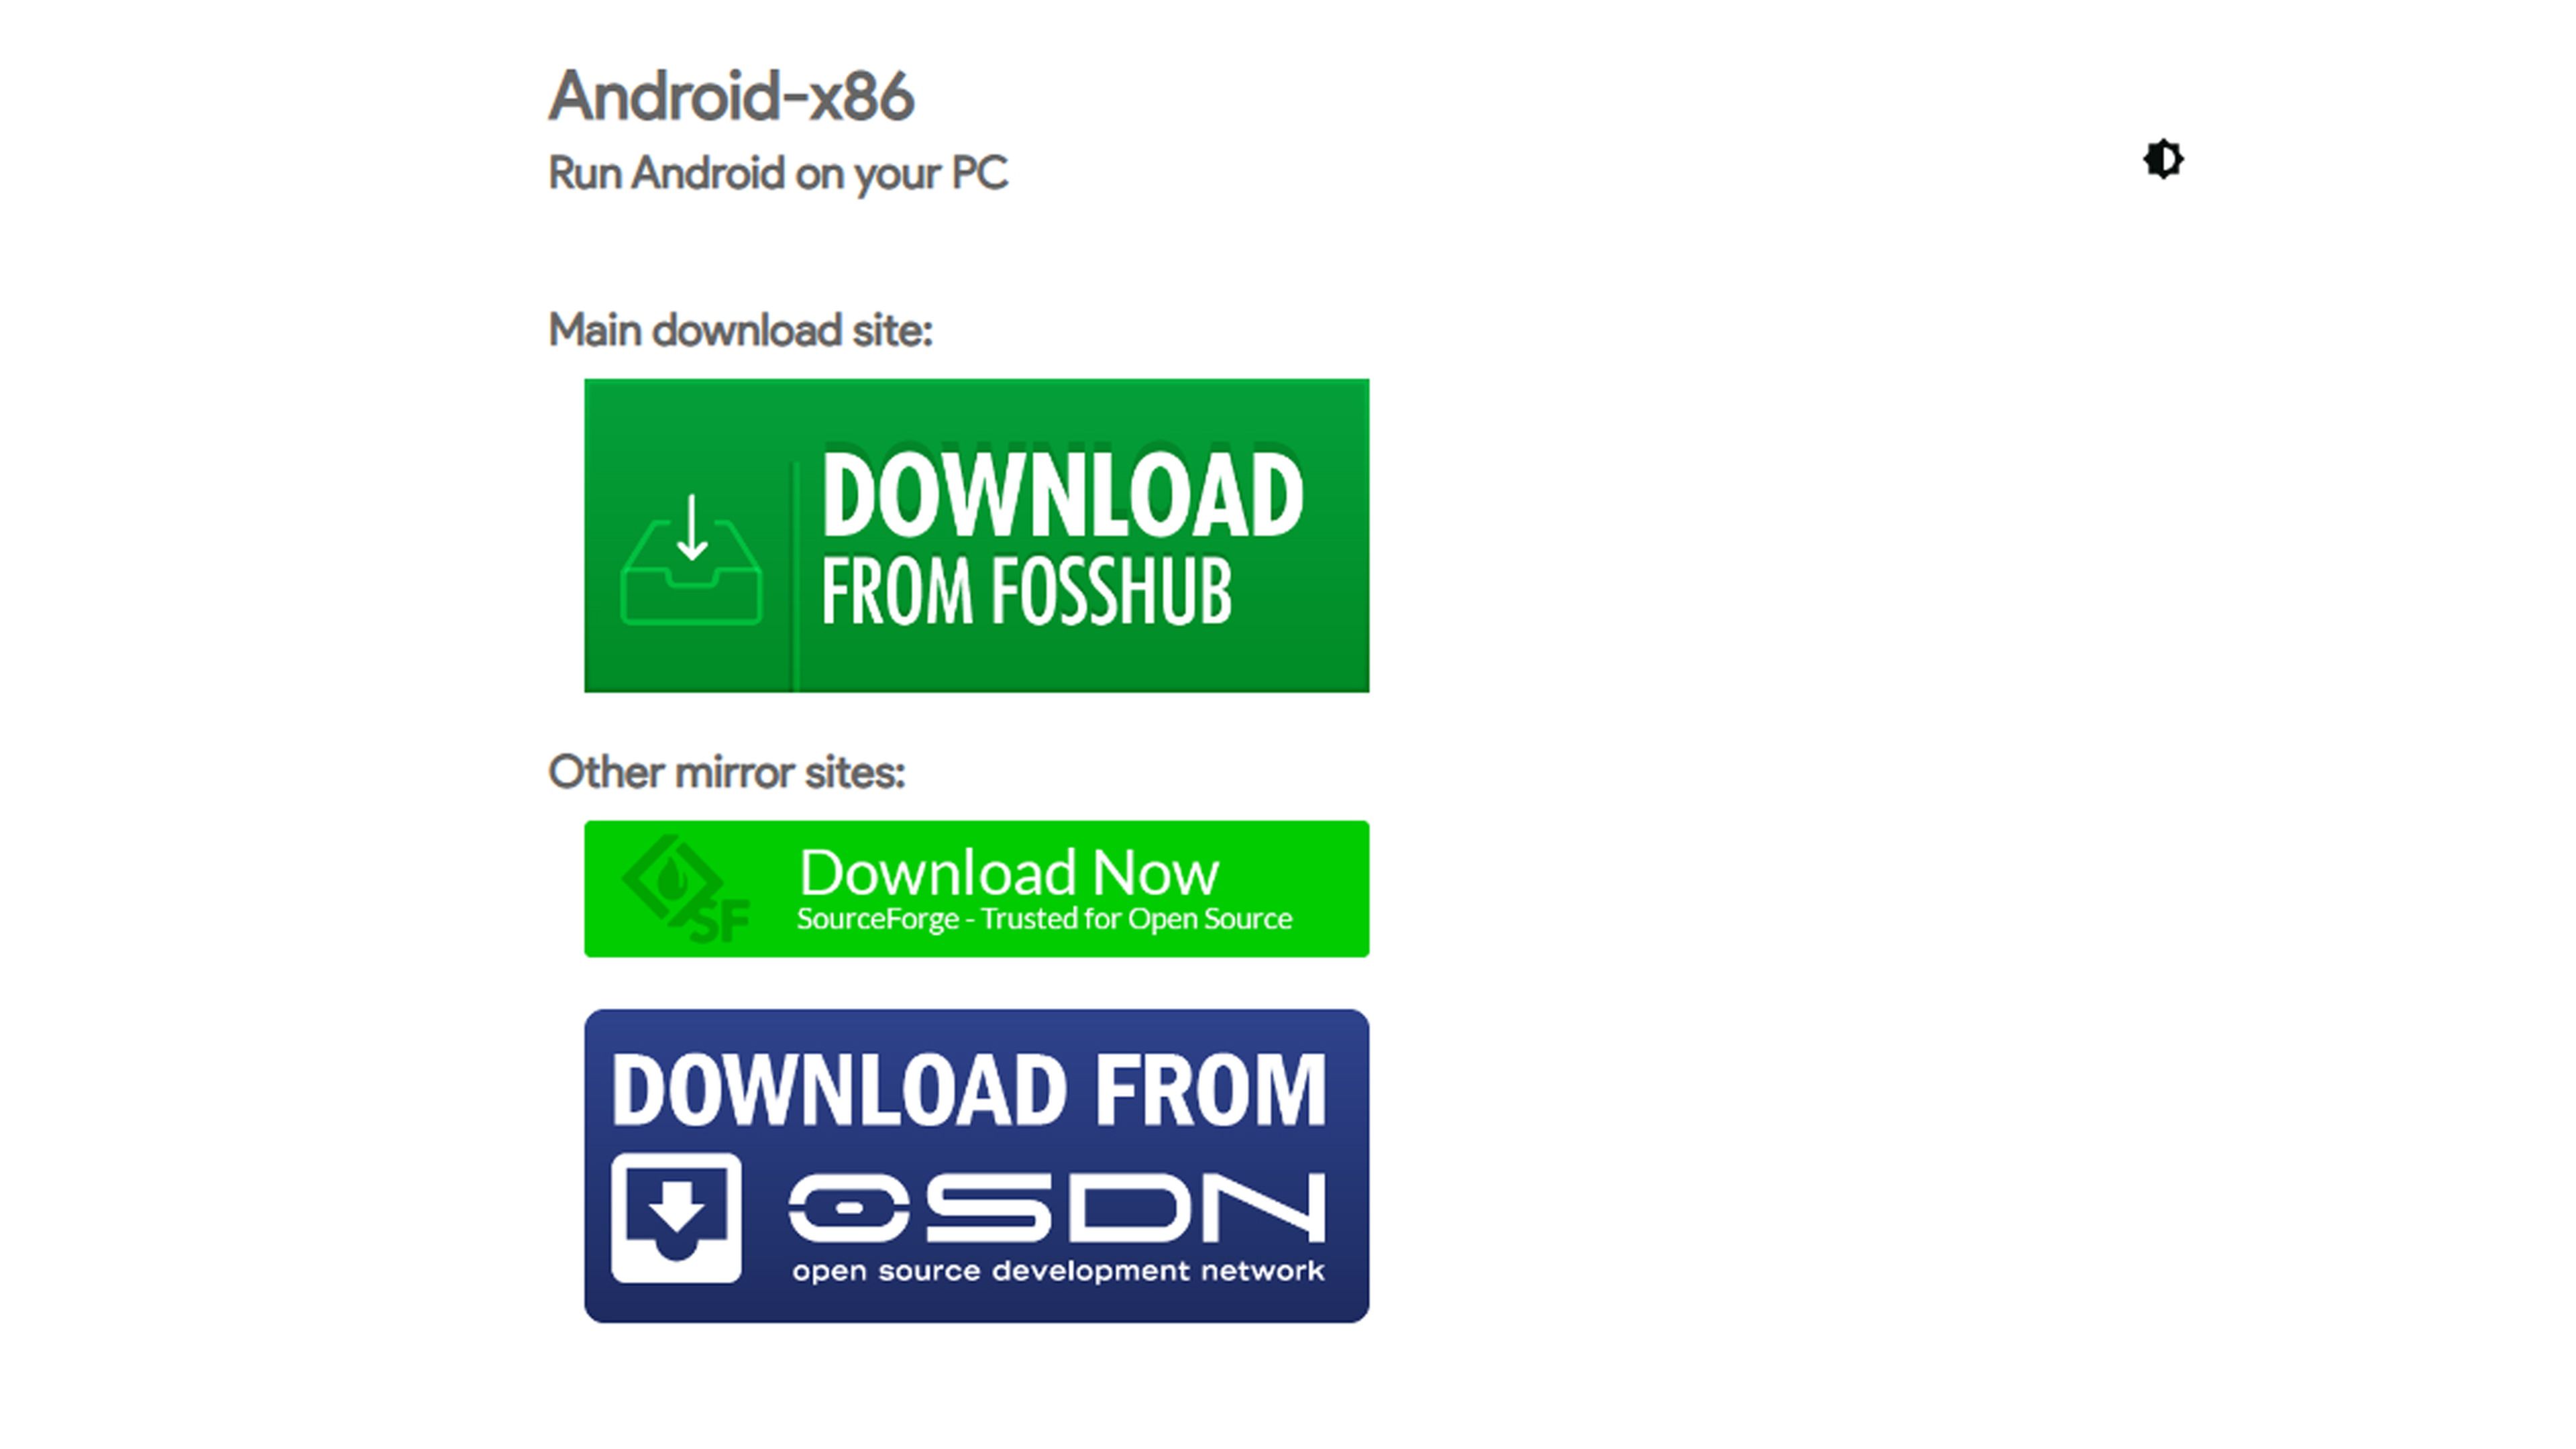
- This will take us to another page where we must click on one of the download options they have. We choose one of the mirrors, either Foshub either OSDN to obtain the ISO download link, trying to download the most current version possible.
- Once you have saved the ISO file it is time to download Rufus.
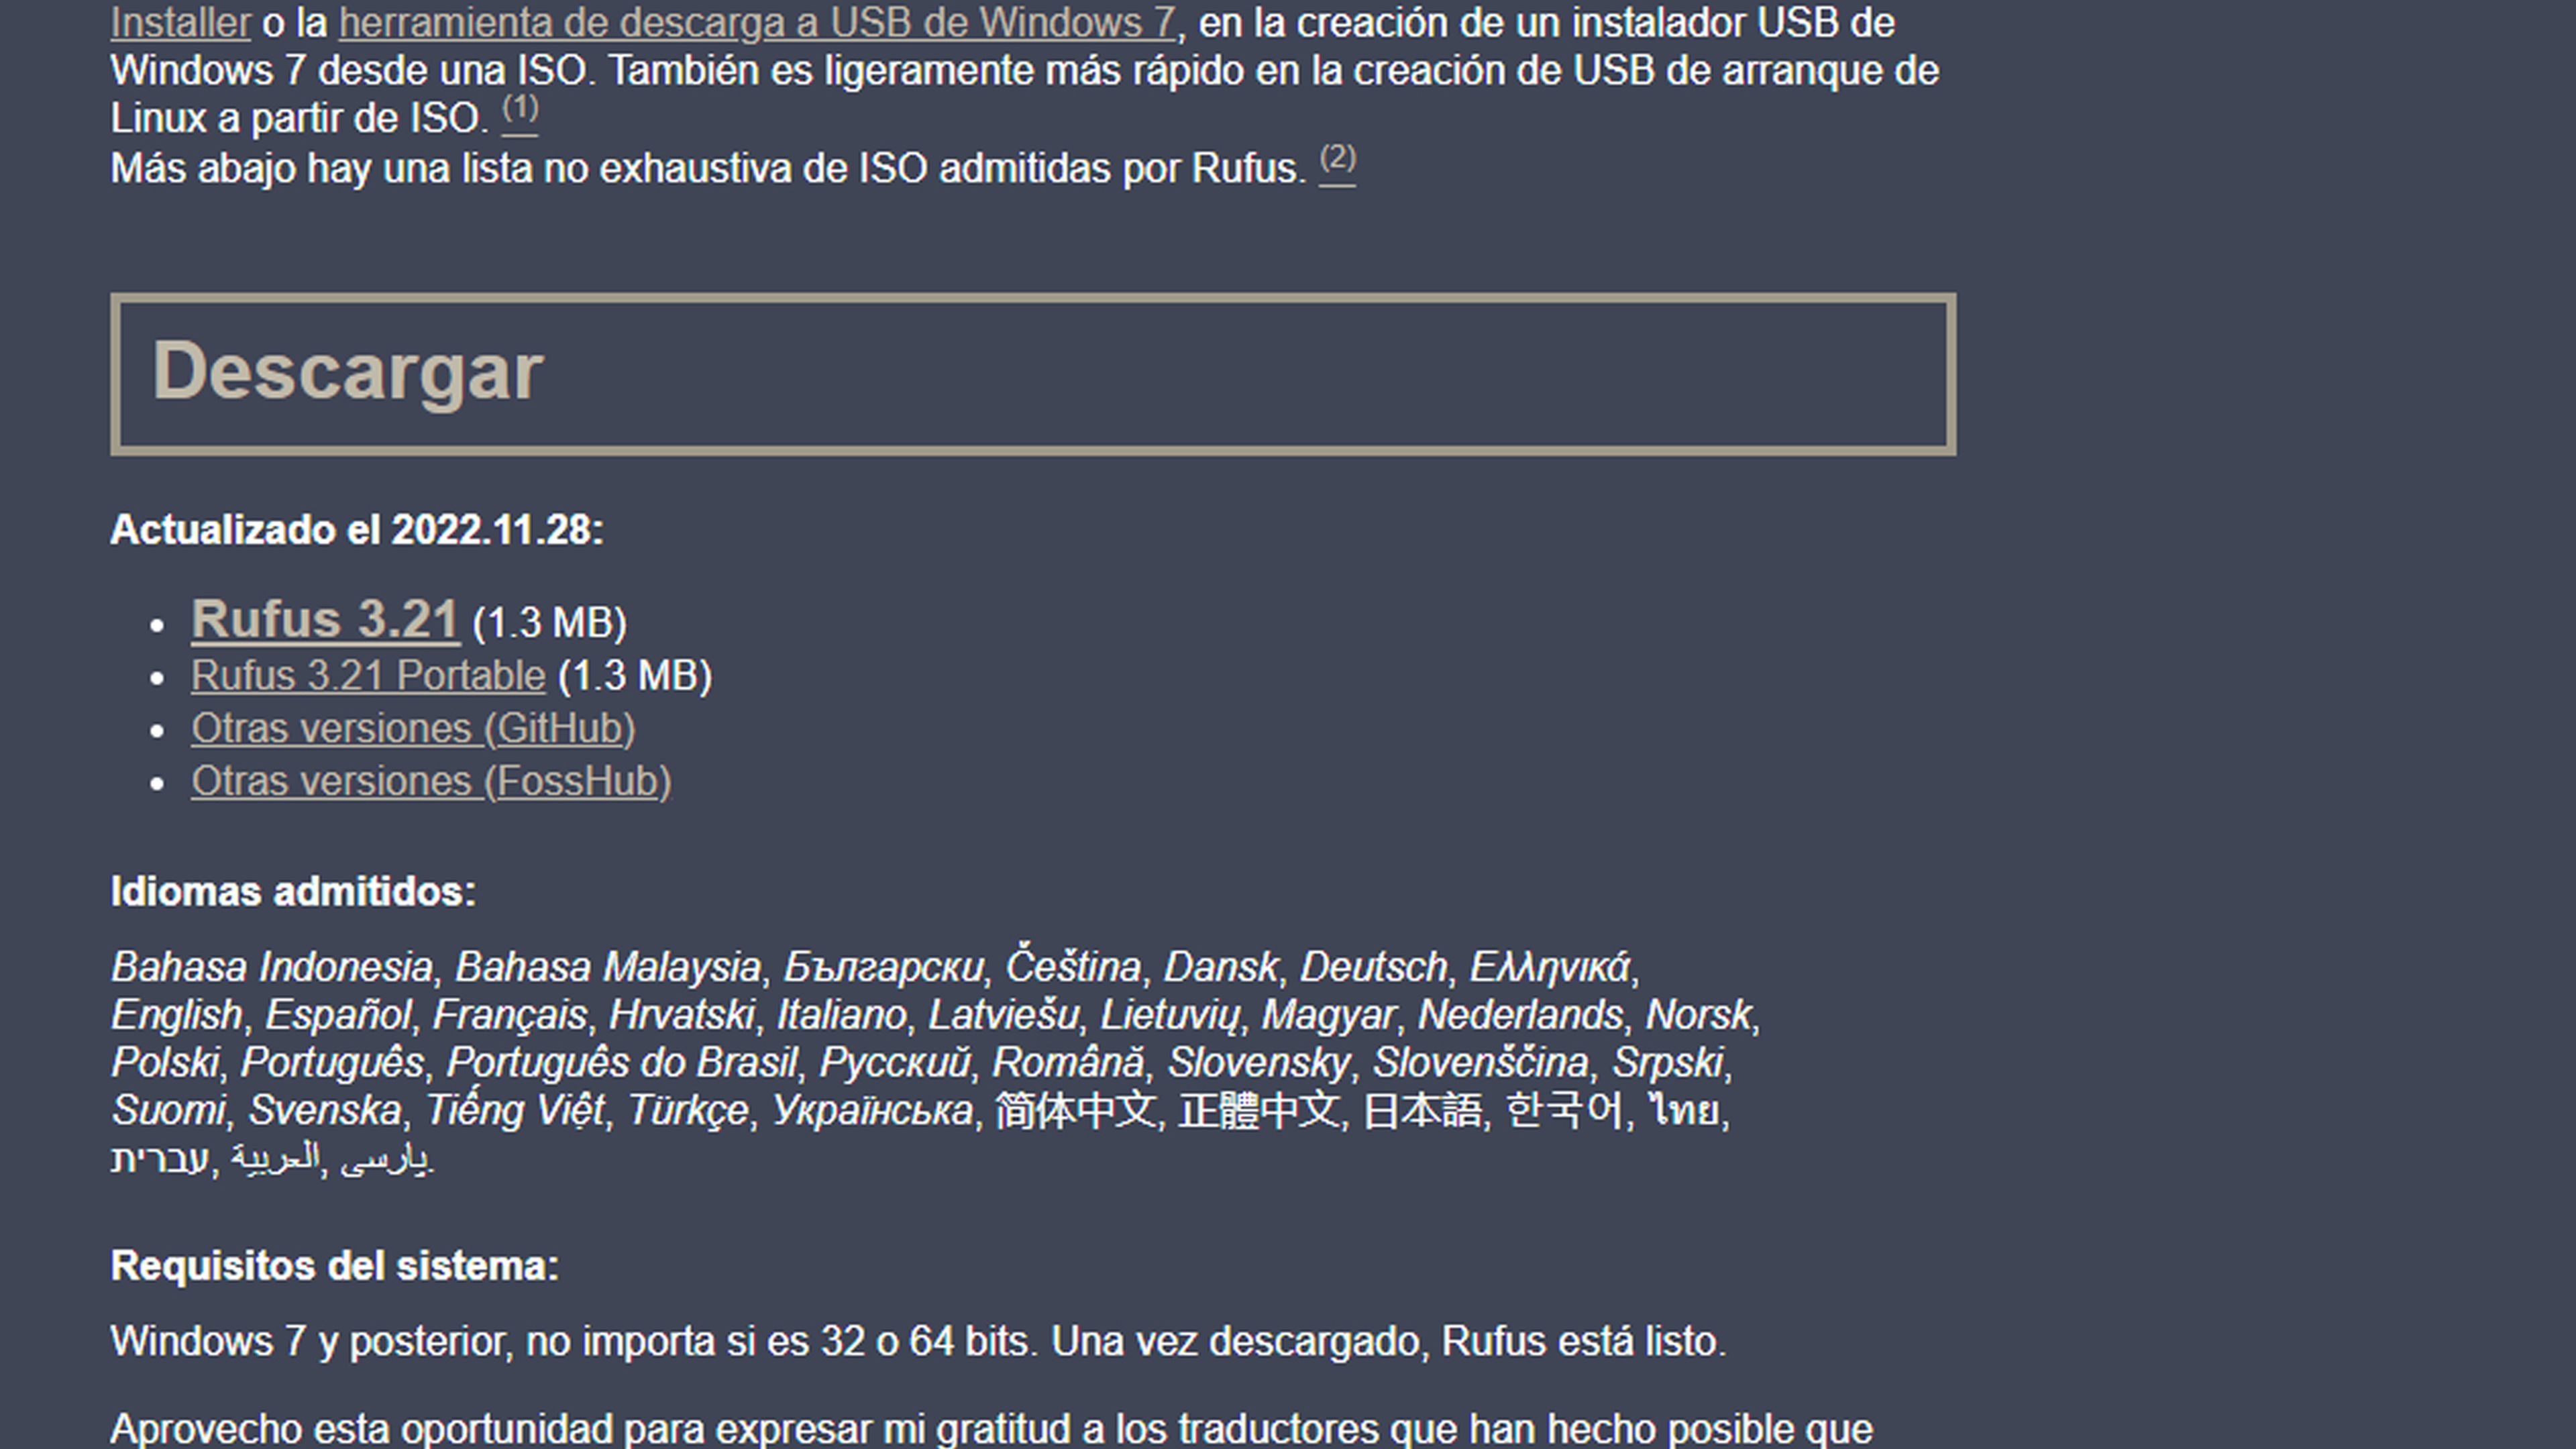
- Go to the Rufus official websitewe scroll down and click on the link to download the latest version of the tool in the download section.
- We wait for the download to finish and close the browser.
Flash Android x86 ISO
Now it’s time to flash Android x86 on a USB drive to get the operating system installed on Windows.
We must make it clear that before starting to flash Android on the computer, we should have a free hard disk partition to be able to have Android on it and thus not lose Windows.
We must perform these steps:
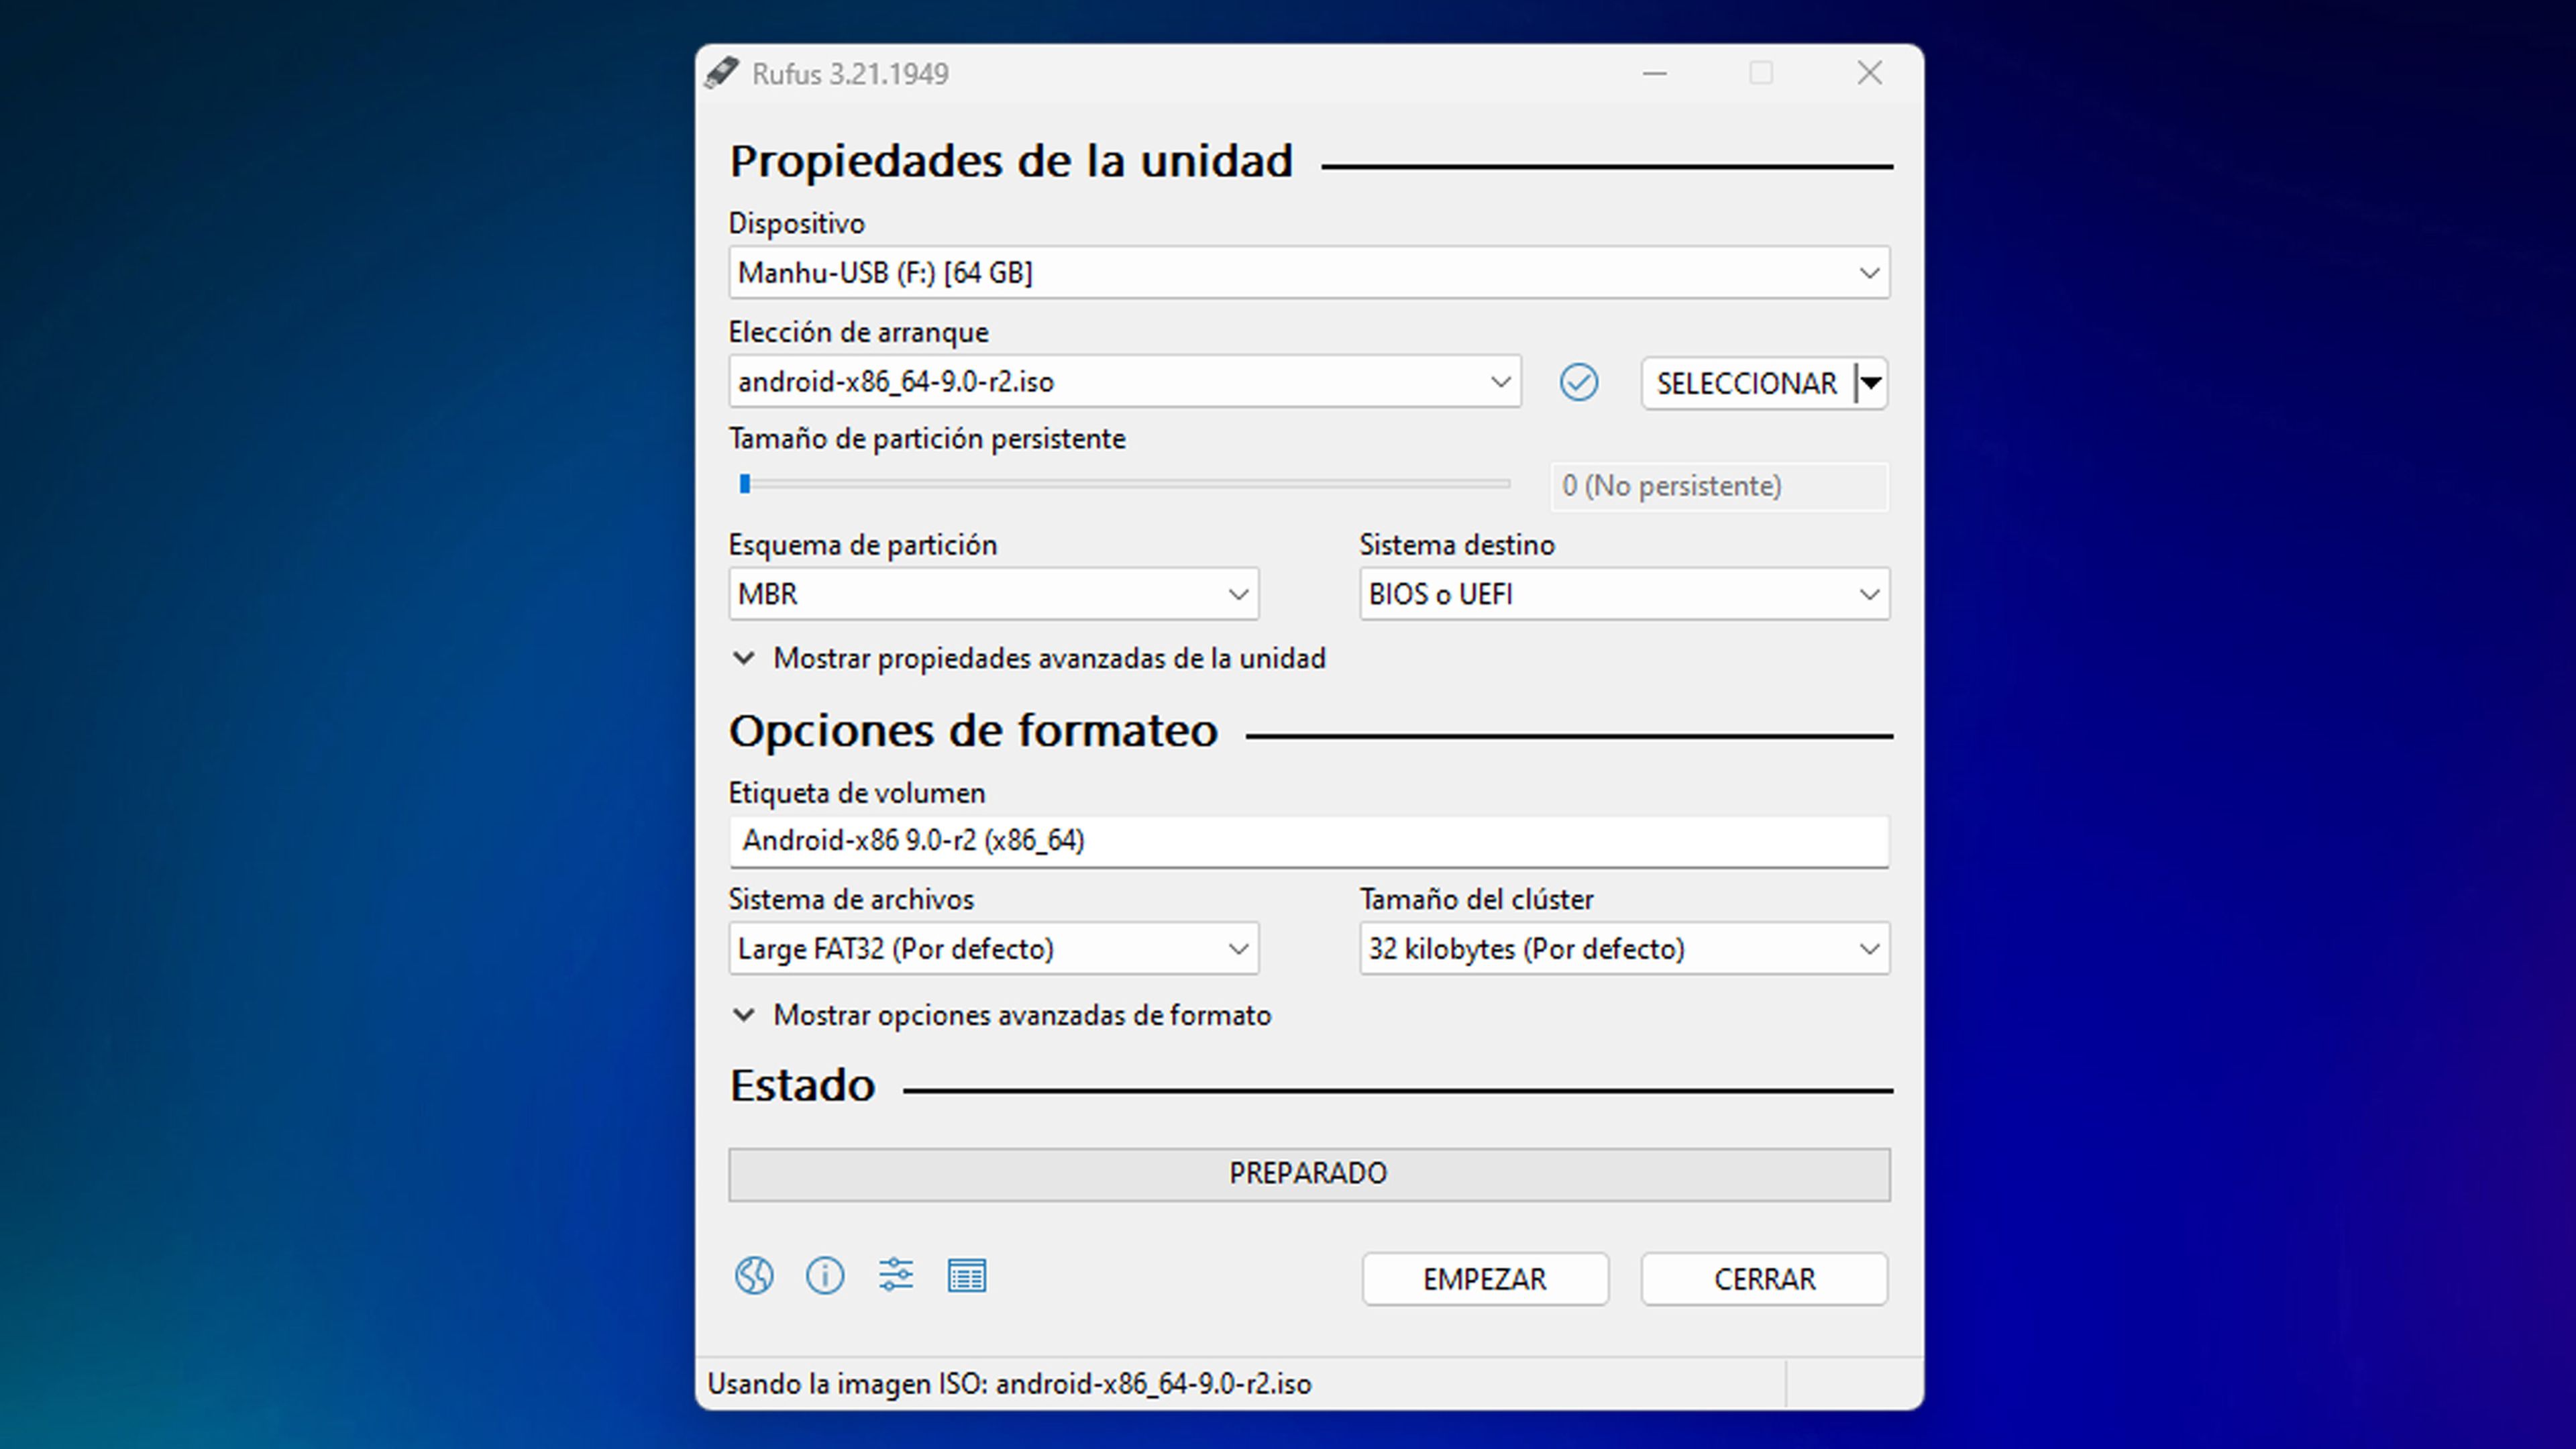
- We open the Rufus tool that we just downloaded.
- insert a usb drive in the computer.
- We select said unit in Rufus, right where it says Device.
- Now we press Select and we look for the x86 ISO file that we have downloaded before to bookmark it.
- We keep the rest of the values as they have been placed by default, to then click on Start.
- Click on Yeah to allow Rufus to download additional system files for compatibility with the ISO file.
- we give in Accept and we continue with the recommended option to Write in ISO image mode.
- All the contents of the unit will be deleted, you must be clear about it. Now we click on Accept to continue with the USB drive update.
- When finished, click Close when the Rufus window shows Ready as state.
instalarm Android x86 on computer
- We turn off the computer and turn it on again to press a designated key (F10, F12, F2, Del, Esc, F9) to enter the configuration of BIOS or UEFI. It depends on the computer it will be one or the other.
- We look for the boot device configuration and we select the usb drive as a device to boot the computer.
- we keep and we exit the BIOS/UEFI setup.
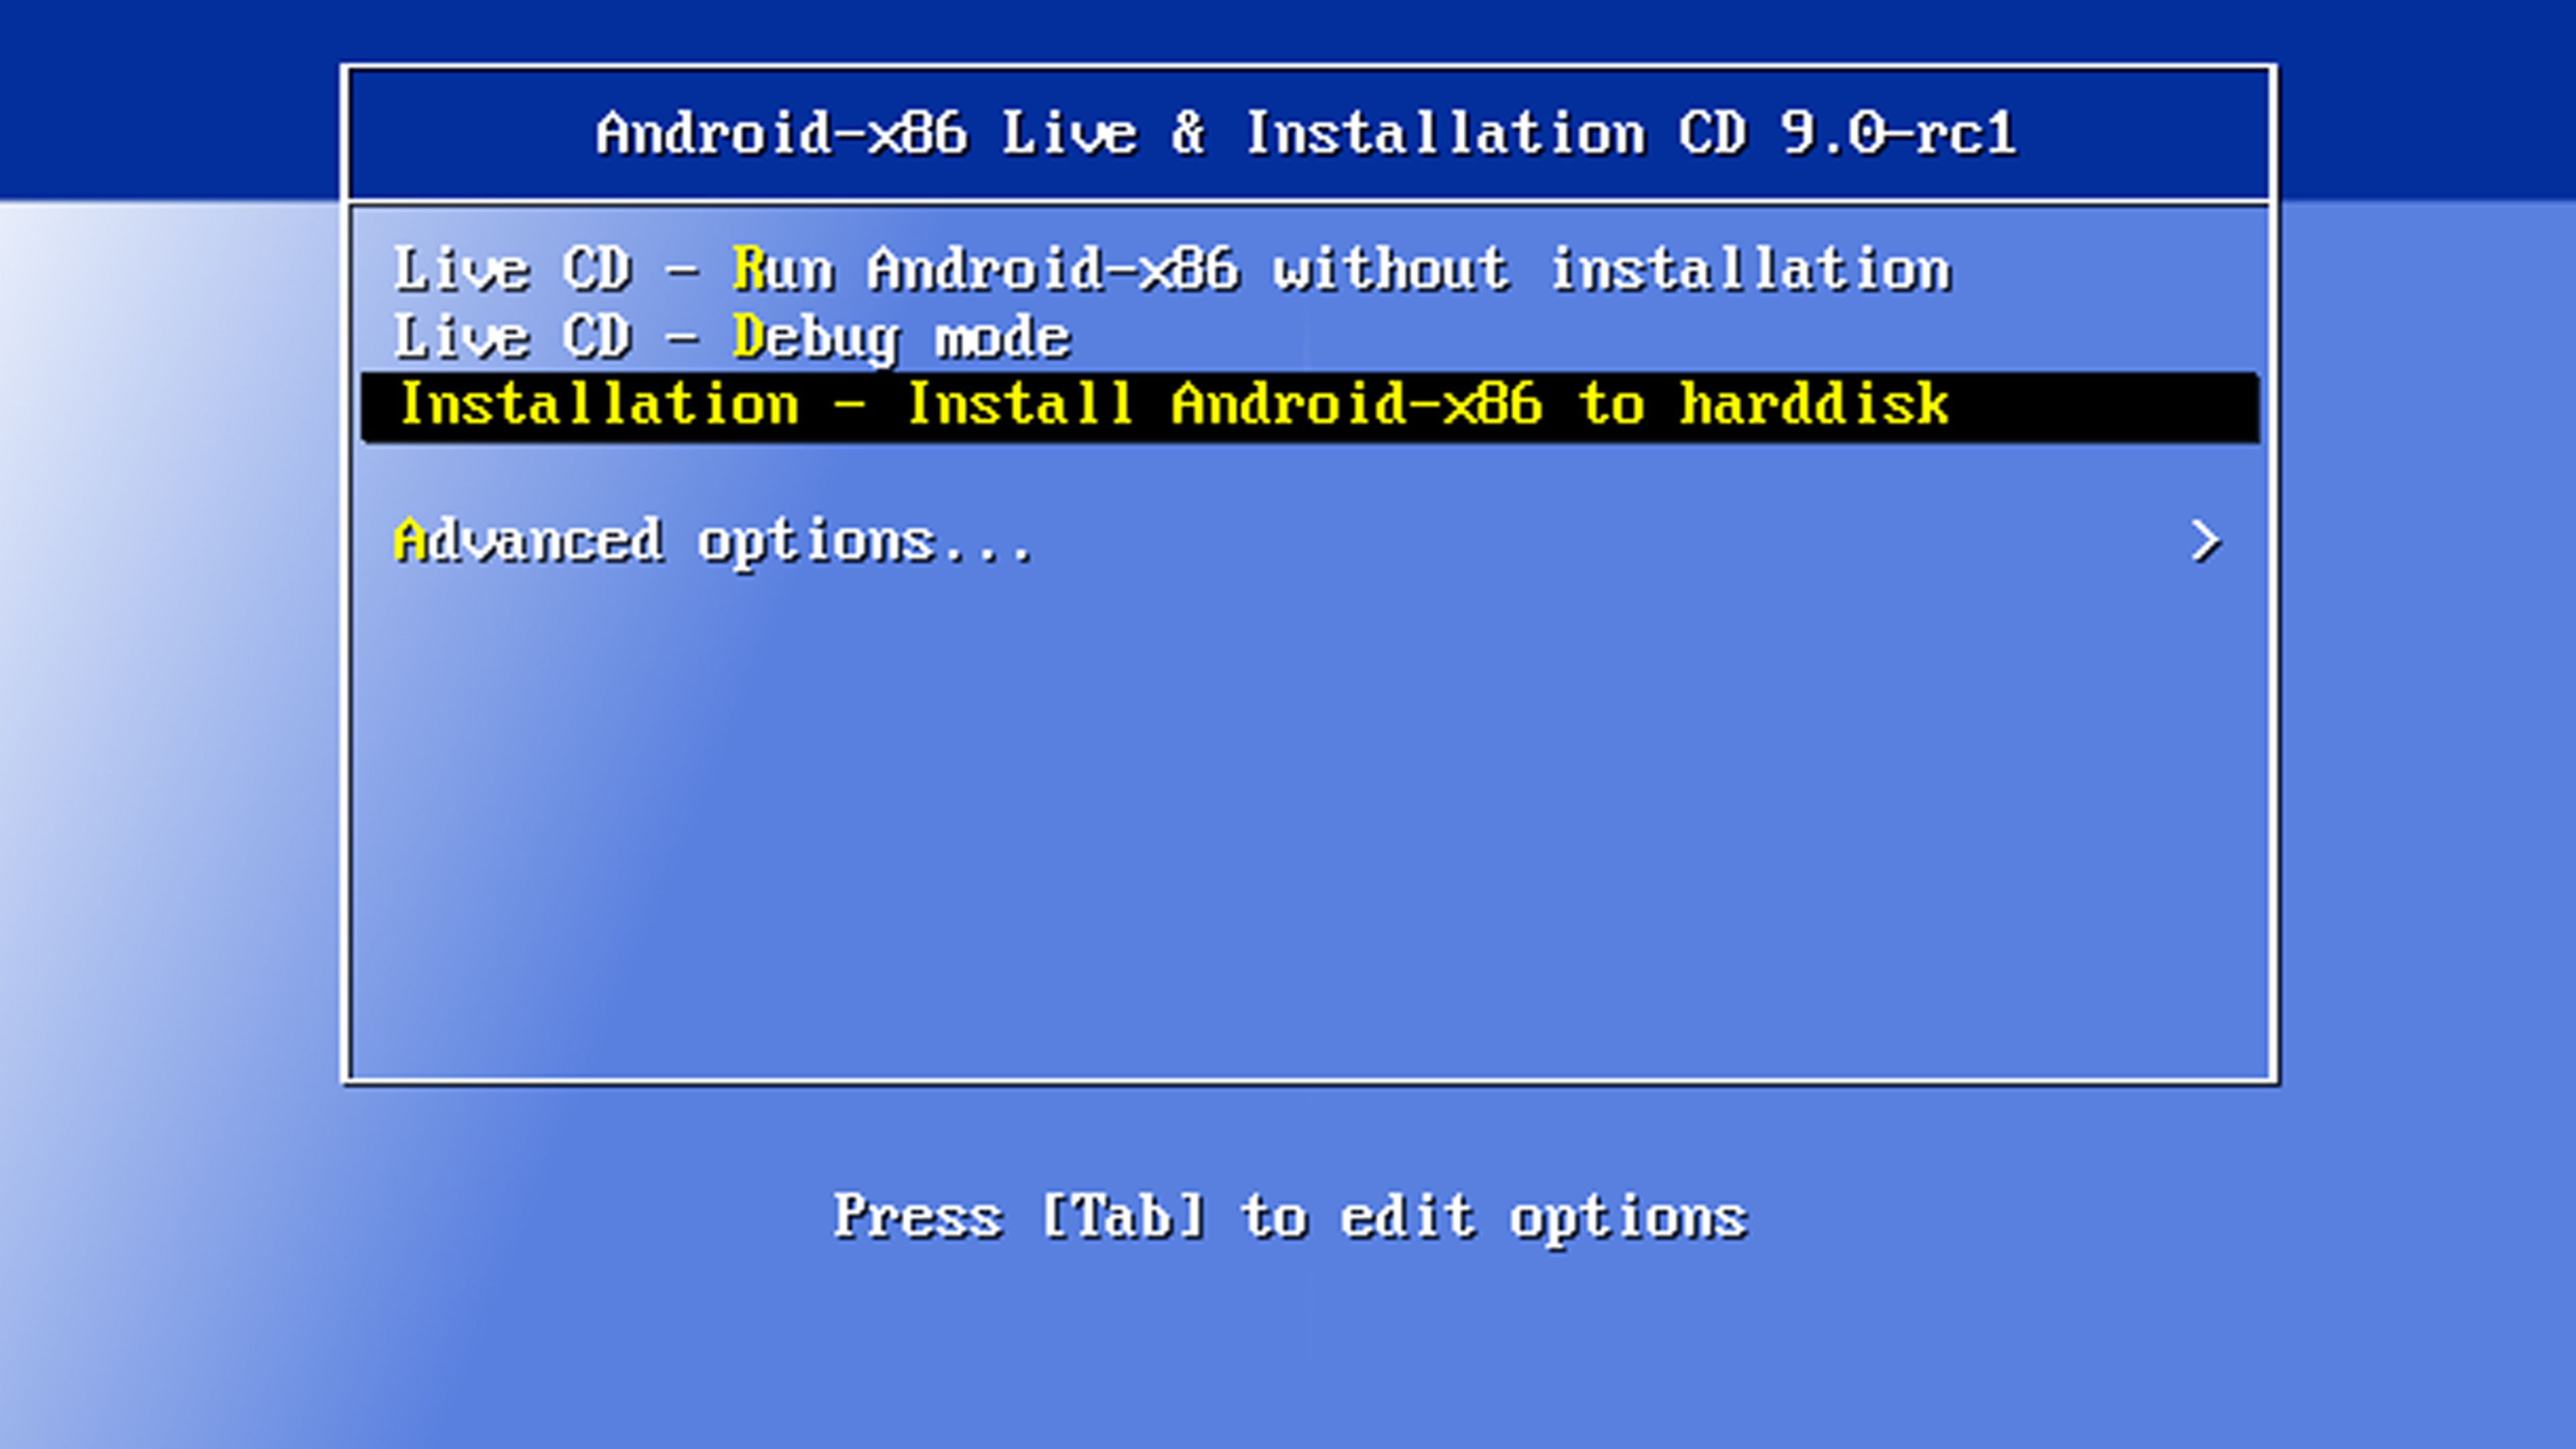
- The system will reboot from the flash drive and display the Install Android x86 boot screen.
- We press on the option Installation – Install Android-x86 ti harddisk (Installation – Install Android-x86 on the hard drive).
- Setup will display a list of partitions. we choose the partition we had free and we press Enter.
- The setup will ask the file system to format that partition (that’s why it’s important that it’s not the Windows one).
- we select ext4 and we continue. After formatting, the setup will ask us if we want to install the bootloader GRUB. Click on Yes. On the next screen, press Yeah since we are not installing Android as the only operating system. That is, we need a boot item for Windows in the Grub bootloader.
- We wait until the installation process is finished, at which point we can choose between Run Android-x86 either Restart.
- We remove the flash drive and click on Restart.
- When restarting, it should ask us if we want to start Windows or Android x86 on the computer.
As you have been able to read, it is easier than it might seem to you to enjoy Android apps together with the Windows operating system. In one of the options within it and in the other sharing a computer.
Now it’s up to everyone to decide how they want to install Android on their computer.


![[Img #74664]](https://thelatestnews.world/wp-content/uploads/2024/12/James-Watson-The-controversial-genius-behind-the-double-helix-150x150.jpg)


![[Img #74664]](https://thelatestnews.world/wp-content/uploads/2024/12/James-Watson-The-controversial-genius-behind-the-double-helix-300x200.jpg)

