When we connect to any WiFi network, the Windows 11 operating system saves the network itself, in addition to its password, in internal memory, which is good when you have a few and something that can be excessive if you have many.
Windows does it to get connect to any of those networks automatically the moment you detect them.
If we do not want this to happen, it is best directly delete networks from our computerincluding those that are older and that we will never use again, since some of them will not even exist at this point.
Now we are going to tell you the different ways to delete a saved WiFi network from Windows 11.
Index of contents:
Why is it good to delete old WiFi networks?
Being realistic, having a very large WiFi list is not bad for the system or anything like that, but it can turn into certain moments in something annoying.
For example, if we previously connected a free public network to the computer, which we are never going to use again, it would be convenient to delete it.
In addition, it may be that we do not want our computer to reconnect when passing through the area of said signal.
The problem is that over time the list gets so big that you can eventually connect to so many networks that it could cause a problem.
Delete a WiFi network using the Quick Settings panel
The Quick Configuration panel can be used to narrow down the list of WiFi networks that we want to have on the computer.
It is a way to simplify the fact of deleting some of the networks that no longer serve us.
We must do the following:
- We push Win + A to open the Quick Settings panel.
- We click on the arrow that points to the side next to the WiFi button. Then we will see a list of WiFi networks, including the one we are currently connected to.
- We make right click in the network that we want to delete and select stop remembering.
Network saved via settings app
If the network we want to delete does not appear in the previous case, it is because it is not close. In that case we can use the Windows 11 Settings application to delete the accounts we want.
To forget a WiFi network through the Settings application we must do the following:
- We push Win + I to open the Settings app.
- Let’s go to the tab network and internet and we click on Wifi.
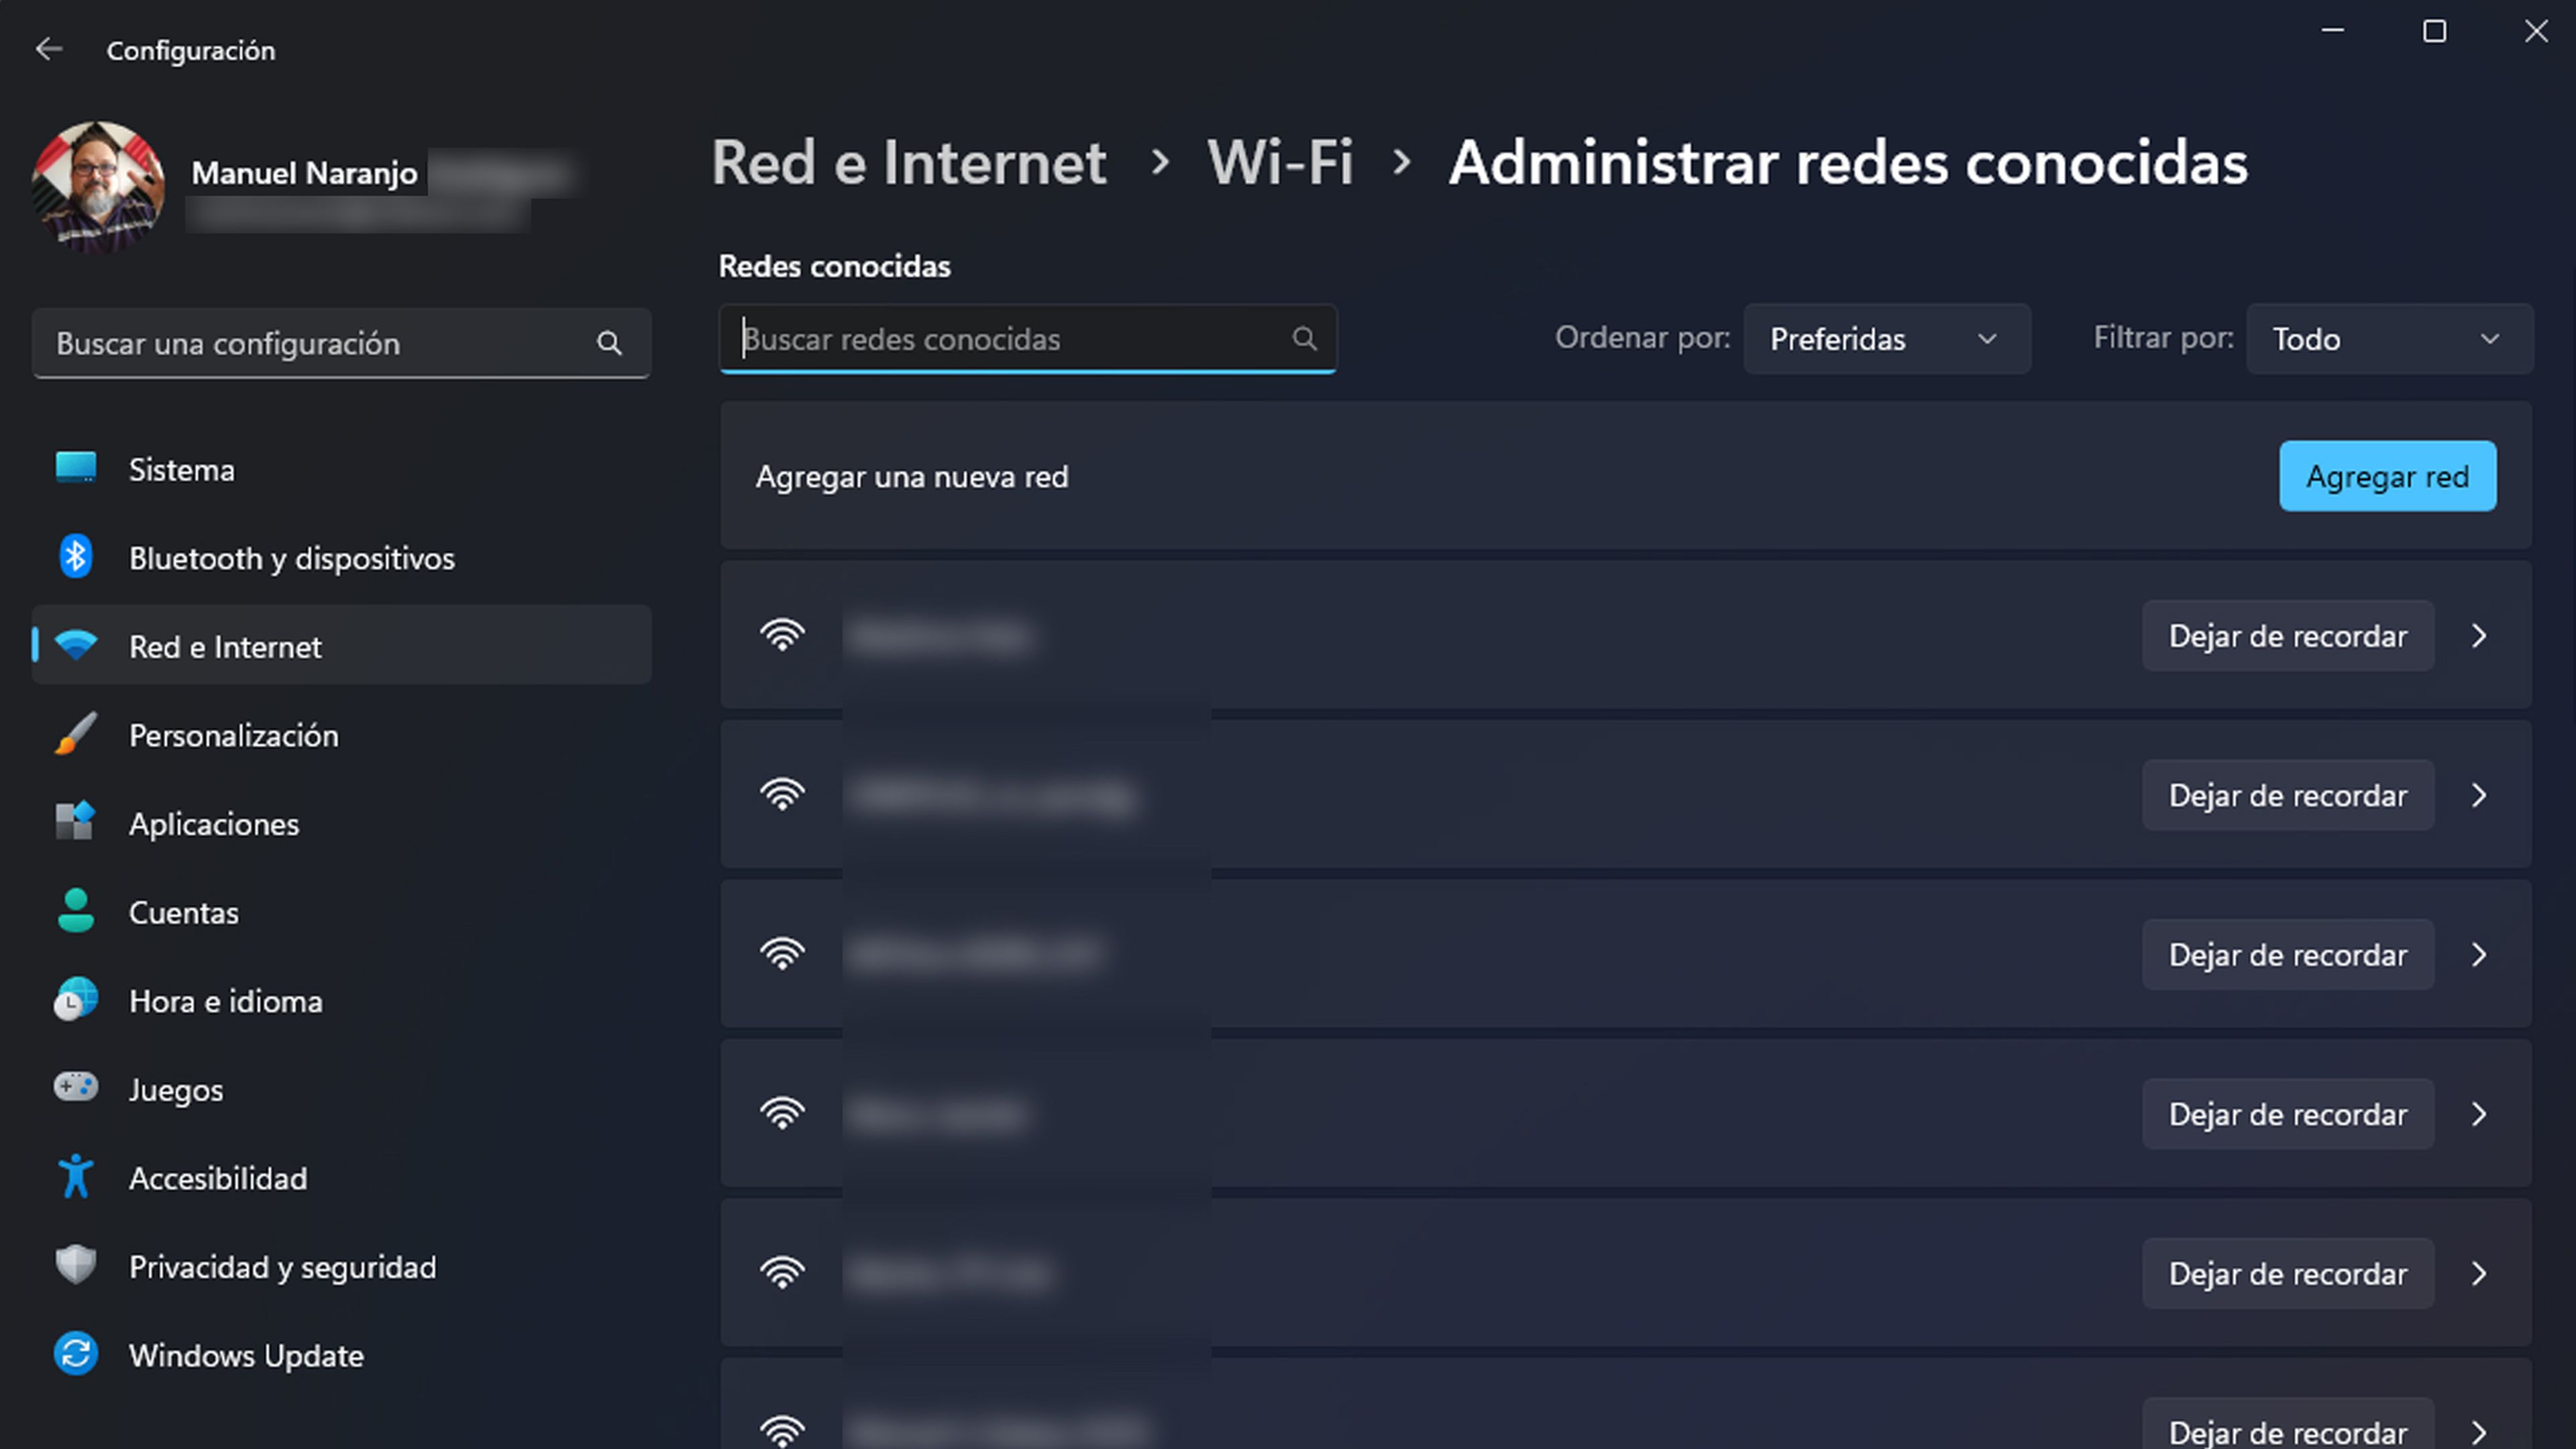
- Click on Manage known networks and then click the Stop remembering button next to a network to delete it.

Using the Registry Editor
Another option that we have is to use the Registry Editor to delete the saved network or networks that we want.
Whenever we use this way we must have a recently made backup, in case there is a problem and we have to go back to it. If you do not know how to handle the Windows 11 Registry, it is advisable that you do not use this method, since it can cause a problem of safety or of another nature.
- We push Win+R to open the dialog Run.
- We wrote regedit and press Enter.
- we select Yes when the message appears User Account Control (UAC).
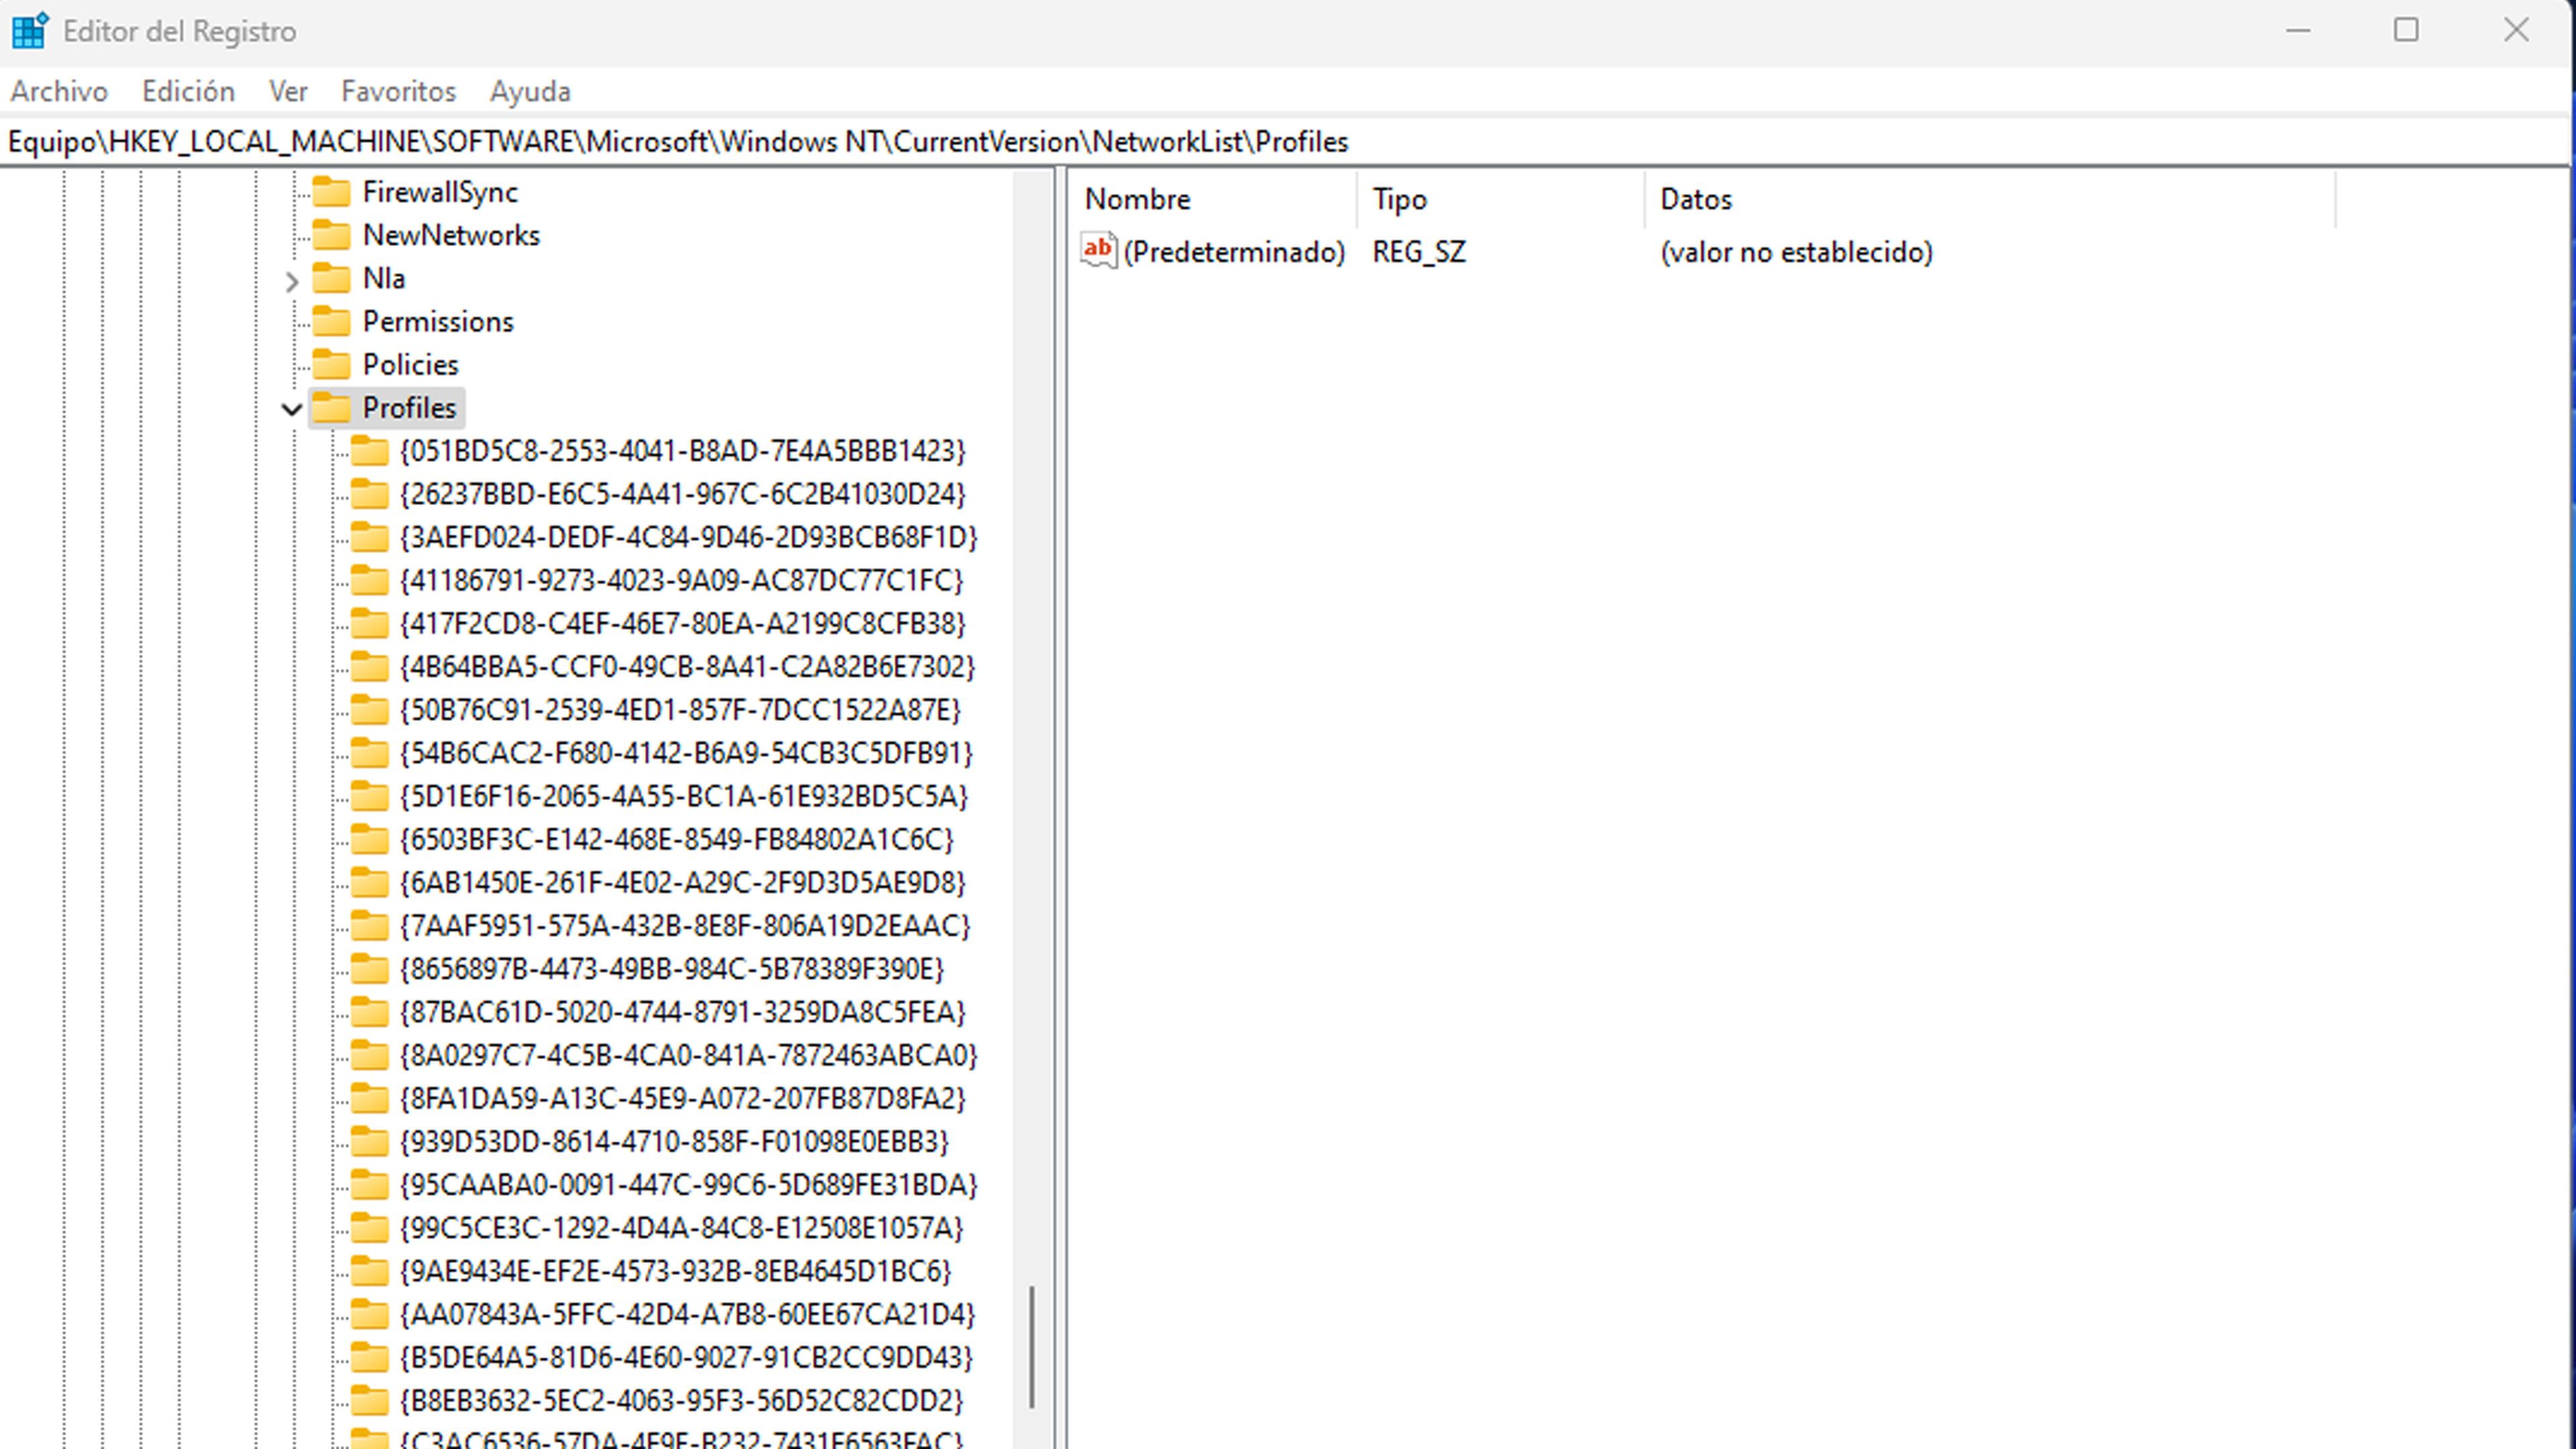
- We use the left pane to navigate to Computer > HKEY_LOCAL_MACHINE > SOFTWARE > Microsoft > Windows NT > CurrentVersion > NetworkList > Profiles.

- Within the Profiles key, we will find multiple subkeys. Each key represents a network profile.
- We select a subkey and search ProfileName DWORD to its right to identify the name of the network.
- Once we find the key corresponding to your network, we right click on it and select Remove.
- Click on Yes to confirm.
With Command Prompt or PowerShell
We can also use the Command Prompt or Windows Powershell to remove accumulated WiFi accounts.
It can be very simple, since we are going to achieve it with a few commands.
This is how we can do it:
- We click on the magnifying glass icon on the taskbar or press Win+S to open the search menu.
- We wrote Symbol of the system either Windows PowerShell and select Run as administrator.
- we select Yes when the User Account Control (UAC) message appears.
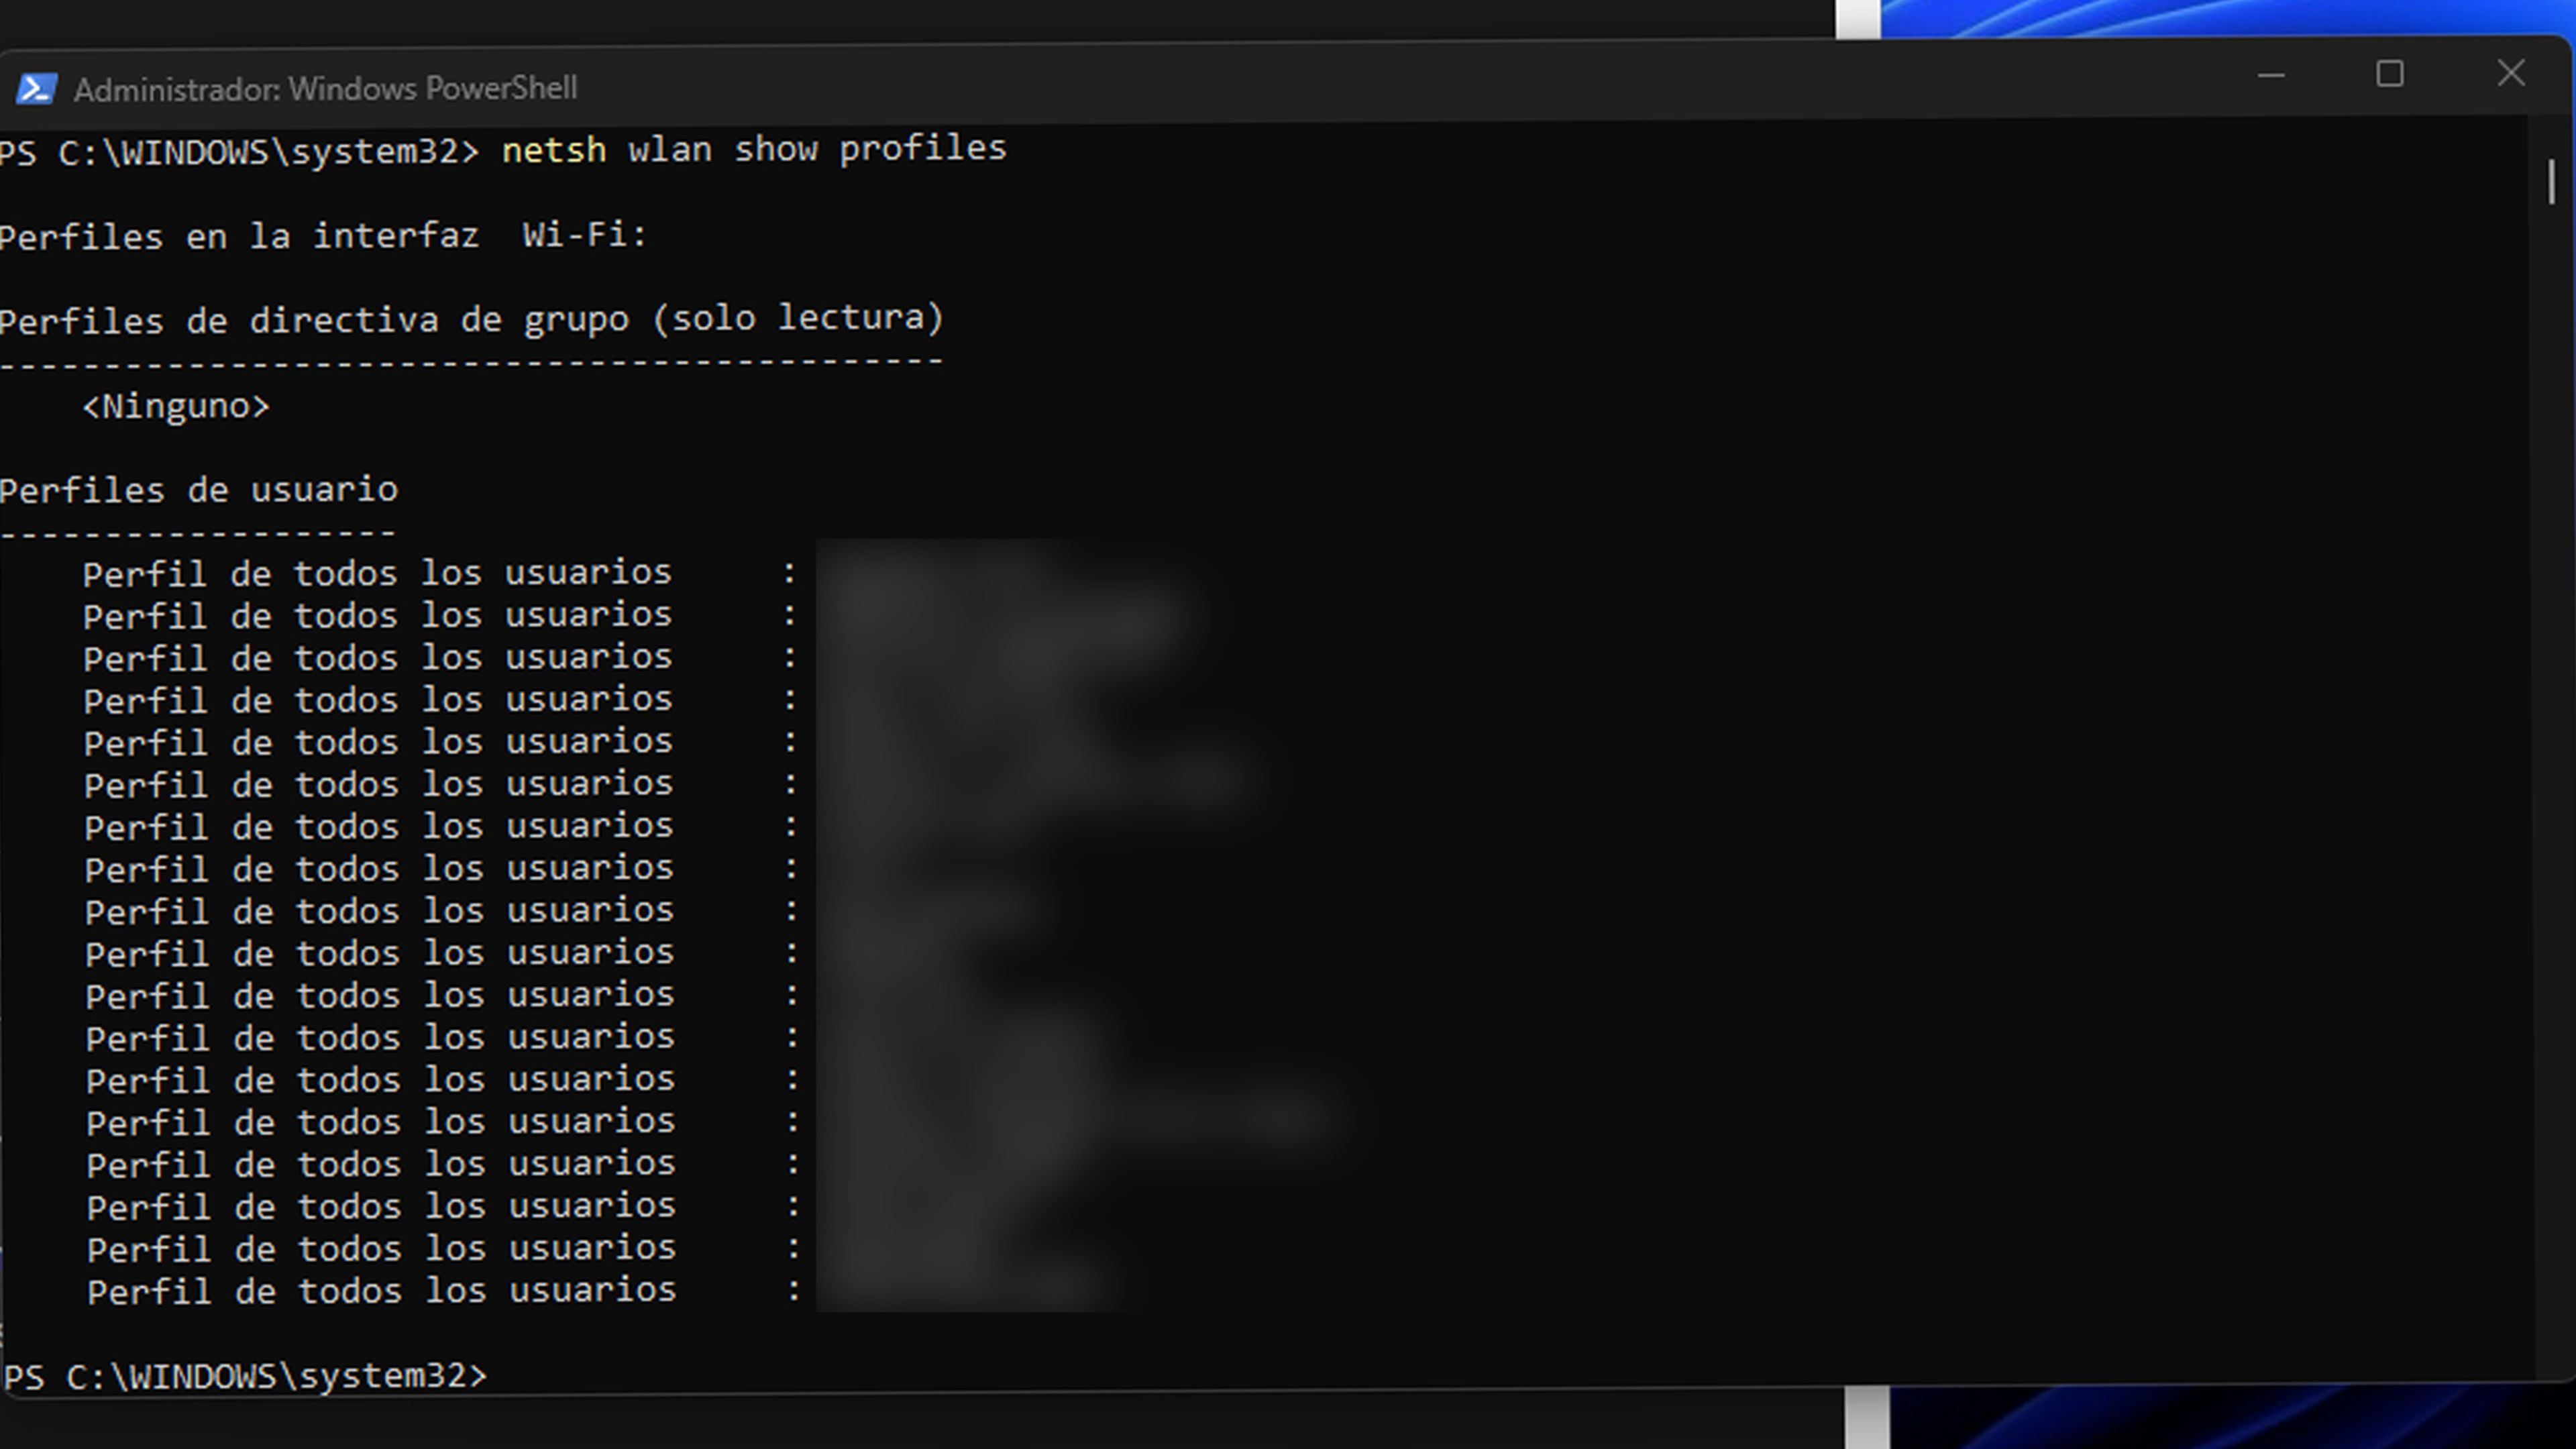
- In the console, we write the following command and press Get in To see a list of Wi-Fi networks saved on your PC: netsh wlan show profiles

- We write down the name of the network profile that we want to delete.
- We paste the following command, replacing WIFIName with the name of the network and press Get in: netsh wlan delete profile name=”WIFIName”
- We can repeat the above command to remove as many networks as we want.
- The command line tool also allows us to remove all saved WiFi networks at once. To do so, we will use this command: netsh wlan delete profile name=* i=*
With all these methods we will be able to manage the networks WiFi that we have in Windows 11, so those that do not make much sense to continue reserving in memory will no longer be there.
You can tell us which of the ways to delete WiFi accounts from the computer is the one that you liked the most. For that we have our social media at your disposal.


